"Speed for the Need" - a mod-package increasing print-accuracy on the Cetus

Hi Folks,

A quick update…

I’ve experienced a few setbacks… I’m back in the shop now and working as much as my body will allow.

One of the setbacks has been due to Covid-19 restrictions, neighbors have been asking for help with all-things-broken. One elderly woman needed her eyeglasses repaired, another her food processor…there’s been many more… a latch for a bird cage, tv remote control, lighting lamps, vacuum cleaner, laptop computer, a grocery cart, beard shaver, coffee grinder… oh geez…the list is actually longer!

Hopefully not much longer folks, thanks for your patience and please be safe out there!

Cheers,
Brent

Hi Folks,

I’m thinking that instead of printer owners installing my z-axis stabilizer mod as their first mod solution, there is another mod…the nozzle stabilizer mod I designed that provides a huge boost to print accuracy and a slight increase to available printing speed.

The reason I’m advising the use of the nozzle mod before the z-axis stabilizer mod is two-fold…

  1. Most owners probably print models that are less than 70mm tall, in this scenario I will design a much cheaper z-axis stabilizer that users could print themselves and simply insert a locally available stiffener. This solution would be affordable to most users and be far quicker than waiting for me to fabricate my ultimate z-axis stabilizer mod.

  2. The nozzle stabilizer mod solves soooo many printing issues. Seriously folks, this mod alone will have the greatest impact on the quality and the accuracy of your prints.

I could make videos, provide pictures of before mod installed and after mod installed, compile lists of benefits, create pretty graphs and provide all kinds of numbers and measurements using laboratory grade equipment to prove my claims…that is not going to happen, and not because I don’t have the lab grade equipment. The proof will be in the pudding…

I’m willing to prove the nozzle stabilizer’s potential by starting a beta-test program. But I’m not in a position to bear the cost, there’s just no way I could do that. If you desire to improve the quality of prints and the reliability of your Cetus then you should start with the nozzle stabilizer and then formulate an upgrade/mod path that fits your usage of the Cetus printer. You may find the ultimate z-axis mod is too aggressive for what you print with the Cetus, and a less robust z-axis stabilizer will be sufficient in combination with the nozzle stabilizer mod…who knows!?

The two metal brackets, the fan and motor attaches to and then attaches to the linear guide block are …well… I destroyed them in the various prototyping stages. Yeah…they be gone RIP. I have a few dimensions recorded, but not enough to make a precision nozzle stabilizer that adjusts for all versions of the extruder assembly. If someone would be so kind to provide me with dimensions…enough that I could make the two brackets…I would be a happy camper!

Cheers…be safe and stay strong folks!
Brent

Hi Brent,

Apologies, i’ve come into this late. Is your nozzle stabilizer to stop all that flexing that happens when it feeds and retracts?
I’ve been thinking of a solution to that myself.

I have 3D models of the metal brackets you mentsioned. Would a step file help?

Gary

Hi @progresstech , never too late Gary, thank-you for chiming-in! Yes it completely stabilizes the nozzle. Retractions work as intended, especially when using advanced spicing software and the combinations of advanced filament-stream control. It also provides greater control of the filament-entry position in relation to the fixed extruder drive assembly above, however insignificant a precise filament position might seem to some, filament shavings can contribute or even introduce problems within the upper nozzle.

As with most of the mods I’ve developed for the Cetus, the nozzle stabilizer has additional value added. I also wanted to lower the heat-zone in the nozzle for those not employing a higher heat-rated ptfe tube in the throat of the upper nozzle. I believe the stock ptfe tube is only rated for temps of around 200deg celsius, higher temps are rapidly degrading the ptfe tube. The ptfe tube in the upper nozzle is a critical component and must have a precise fit for reliable performance. When assembling the nozzle with a ptfe tube too-long for a precise fit, the lower edge of the tube will flare and start choking the filament passing through. This may not seem to be problematic, but if the heat zone is melting the filament enough on the other-side of the lower-end of the flared ptfe tube…unreliable extrusion performance is soon to follow. Molten filament will make it’s way in-between the tubing and the inner-wall of the upper nozzle, burn and liquefy and then flow back into the normal filament stream and into the model being printed. Another reason for lowering the nozzle heat-zone was to somehow effect the firmware interrupt in the hopes to shorten the heat-block temp monitoring/heating cycle, but I suspect the stock 8bit controller is already maxed-out. But, it did tighten the temperature tolerance providing a more reliable delivery of NinjaTek Armadillow filament.

Stabilizing the nozzle has completely negated layer-shifts, models knocked from their position on the print-bed, unwanted surface artifacts etc etc due to that flexing,the nozzle-height should only change by way of z-axis adjustments.

Another feature of the nozzle stabilizer…I’m designing a nozzle quick-change system, the current stabilizer mod is providing the base to future nozzle quick-change development. A nozzle quick-change system will help reduce potential pain flare-ups for me, and definitely reduce time-lost for folks frequently changing filament types.

The step file/s will help Gary, thank-you big-time!

Cheers,
Brent

I’m glad to hear that fixing the nozzle flex can have such a good effect. With limited time, it’s nice to know the effort will be worth it.
It’s interesting to hear your thoughts on the stock nozzle too. I ran some high temperatures, experimenting with carbon filled PETG, and suspect it might have caused some damage.
When I get a bit further, i’ll post some pics of my method.

How should I get the step files to you?

Gary

I’d happily test this mod out for you, we should all print the same file too to make sure we all get similar results…
I’m very happy with how my Cetus prints now so any upgrade would be awesome!

I don’t use my Cetus as much as I’d like, but when I do the print quality still surprises me!

@onis_uk , My extruder/nozzle assembly is heavily modified, I’m currently waiting for a few CAD files graciously offered from another Cetus owner before I design the mounting system to fit stock printers. I’ve added you to the beta-tester list!

I’m having a tough-time with pain flare-ups lately, I just can’t catch a break from them…one ends and another hits me with only a day or so of relief in-between…this current flare-up is relentless and I’ve been knackered for almost 10 days now.

Wish I could get these mods in the hands of those interested, it’s got to be frustrating for folks waiting patiently…it’s intensely frustrating for me having solutions but no windows-of-opportunity in my shop.

Hopefully not much longer!

No rush TS your health is more important than a 3d printer!

Hi Folks, it’s been a long frustrating journey getting the z-axis stabilizer mod to those interested in gleaning every-last-drop of potential for greater accuracy and speedier prints on the Cetus. I’m happy to report a solution to my dilemma…

Recently, a like-minded fellow I had done work for in the past contacted me about converting some 2D CAD objects normally produced using subtractive manufacturing into 3D CAD objects destined to be produced using additive manufacturing. The magic happened when he mentioned trading labor… within a few moments I began to notice a huge weight lifting from my shoulders…omg is this really happening…indeed it was!

So the deal was struck and will begin this weekend…sounds like some z-axis stabilizers will be … POOF …magically appearing in my tiny shop area soon!

I’m going to reduce the price from $65USD to $50USD for the duration of this unique deal I have entered into!

To save time, for those still interested, please send me a quick yes or no using whichever method you are comfortable with or used when first contacting me… post a reply to this thread, pm via this forum, email.

Thank-you all and good journeys to you…and of course… happy printing!
Brent
Technology Salad

hey whats up techsalad?
any news about modkit ?
look super cool and usefull

@fuckFace Hey there, the z-axis modkit is available…sold the first batch and waiting for more interest before creating a second batch. If you’re interested send an email to admin
at technologysalad com

cheers,
Brent

1 Like

@techsalad, a bit late to the party but what is the current status on the modkit? I’m very interested myself.

Greetings @runruns

Never too late! A new batch is being machined and will be ready to ship in 7 -10 days, possibly sooner.

I’m still offering the reduced price of $50.00USD, when this next batch is sold the price will probably increase to $65 - $85USD.

Could you send an email to “admin@technologysalad.com” to confirm your order and get you on the list for this next batch. I’ll put you on the list right now, but need the email to keep everything organized until the online store is up and running.

Best regards,
Brent

@techsalad G’day mate, how are things with you? Hope your pain isn’t too severe nowadays… I was wondering if you have an option for better cooling with a stock extruder? I have printed your fan shroud but it seems a bit misaligned for my printer. And works kind of good I guess, but it feels like I can do better?
I’m looking for a way to print a little bit faster until you are well enough to produce and ship the mods.
Providing pictures for reference on the alignment of the shroud and extruder.

Best regards
Tobias

@tibberz , Hi Tobias! Getting ready to start shipping this batch of z-stabilizer and nozzle stabilizer mods to you guys! It’s been a struggle to do anything in the shop of late due to the cold weather, soon I hope to be able to endure for longer periods when warmer temps arrive.

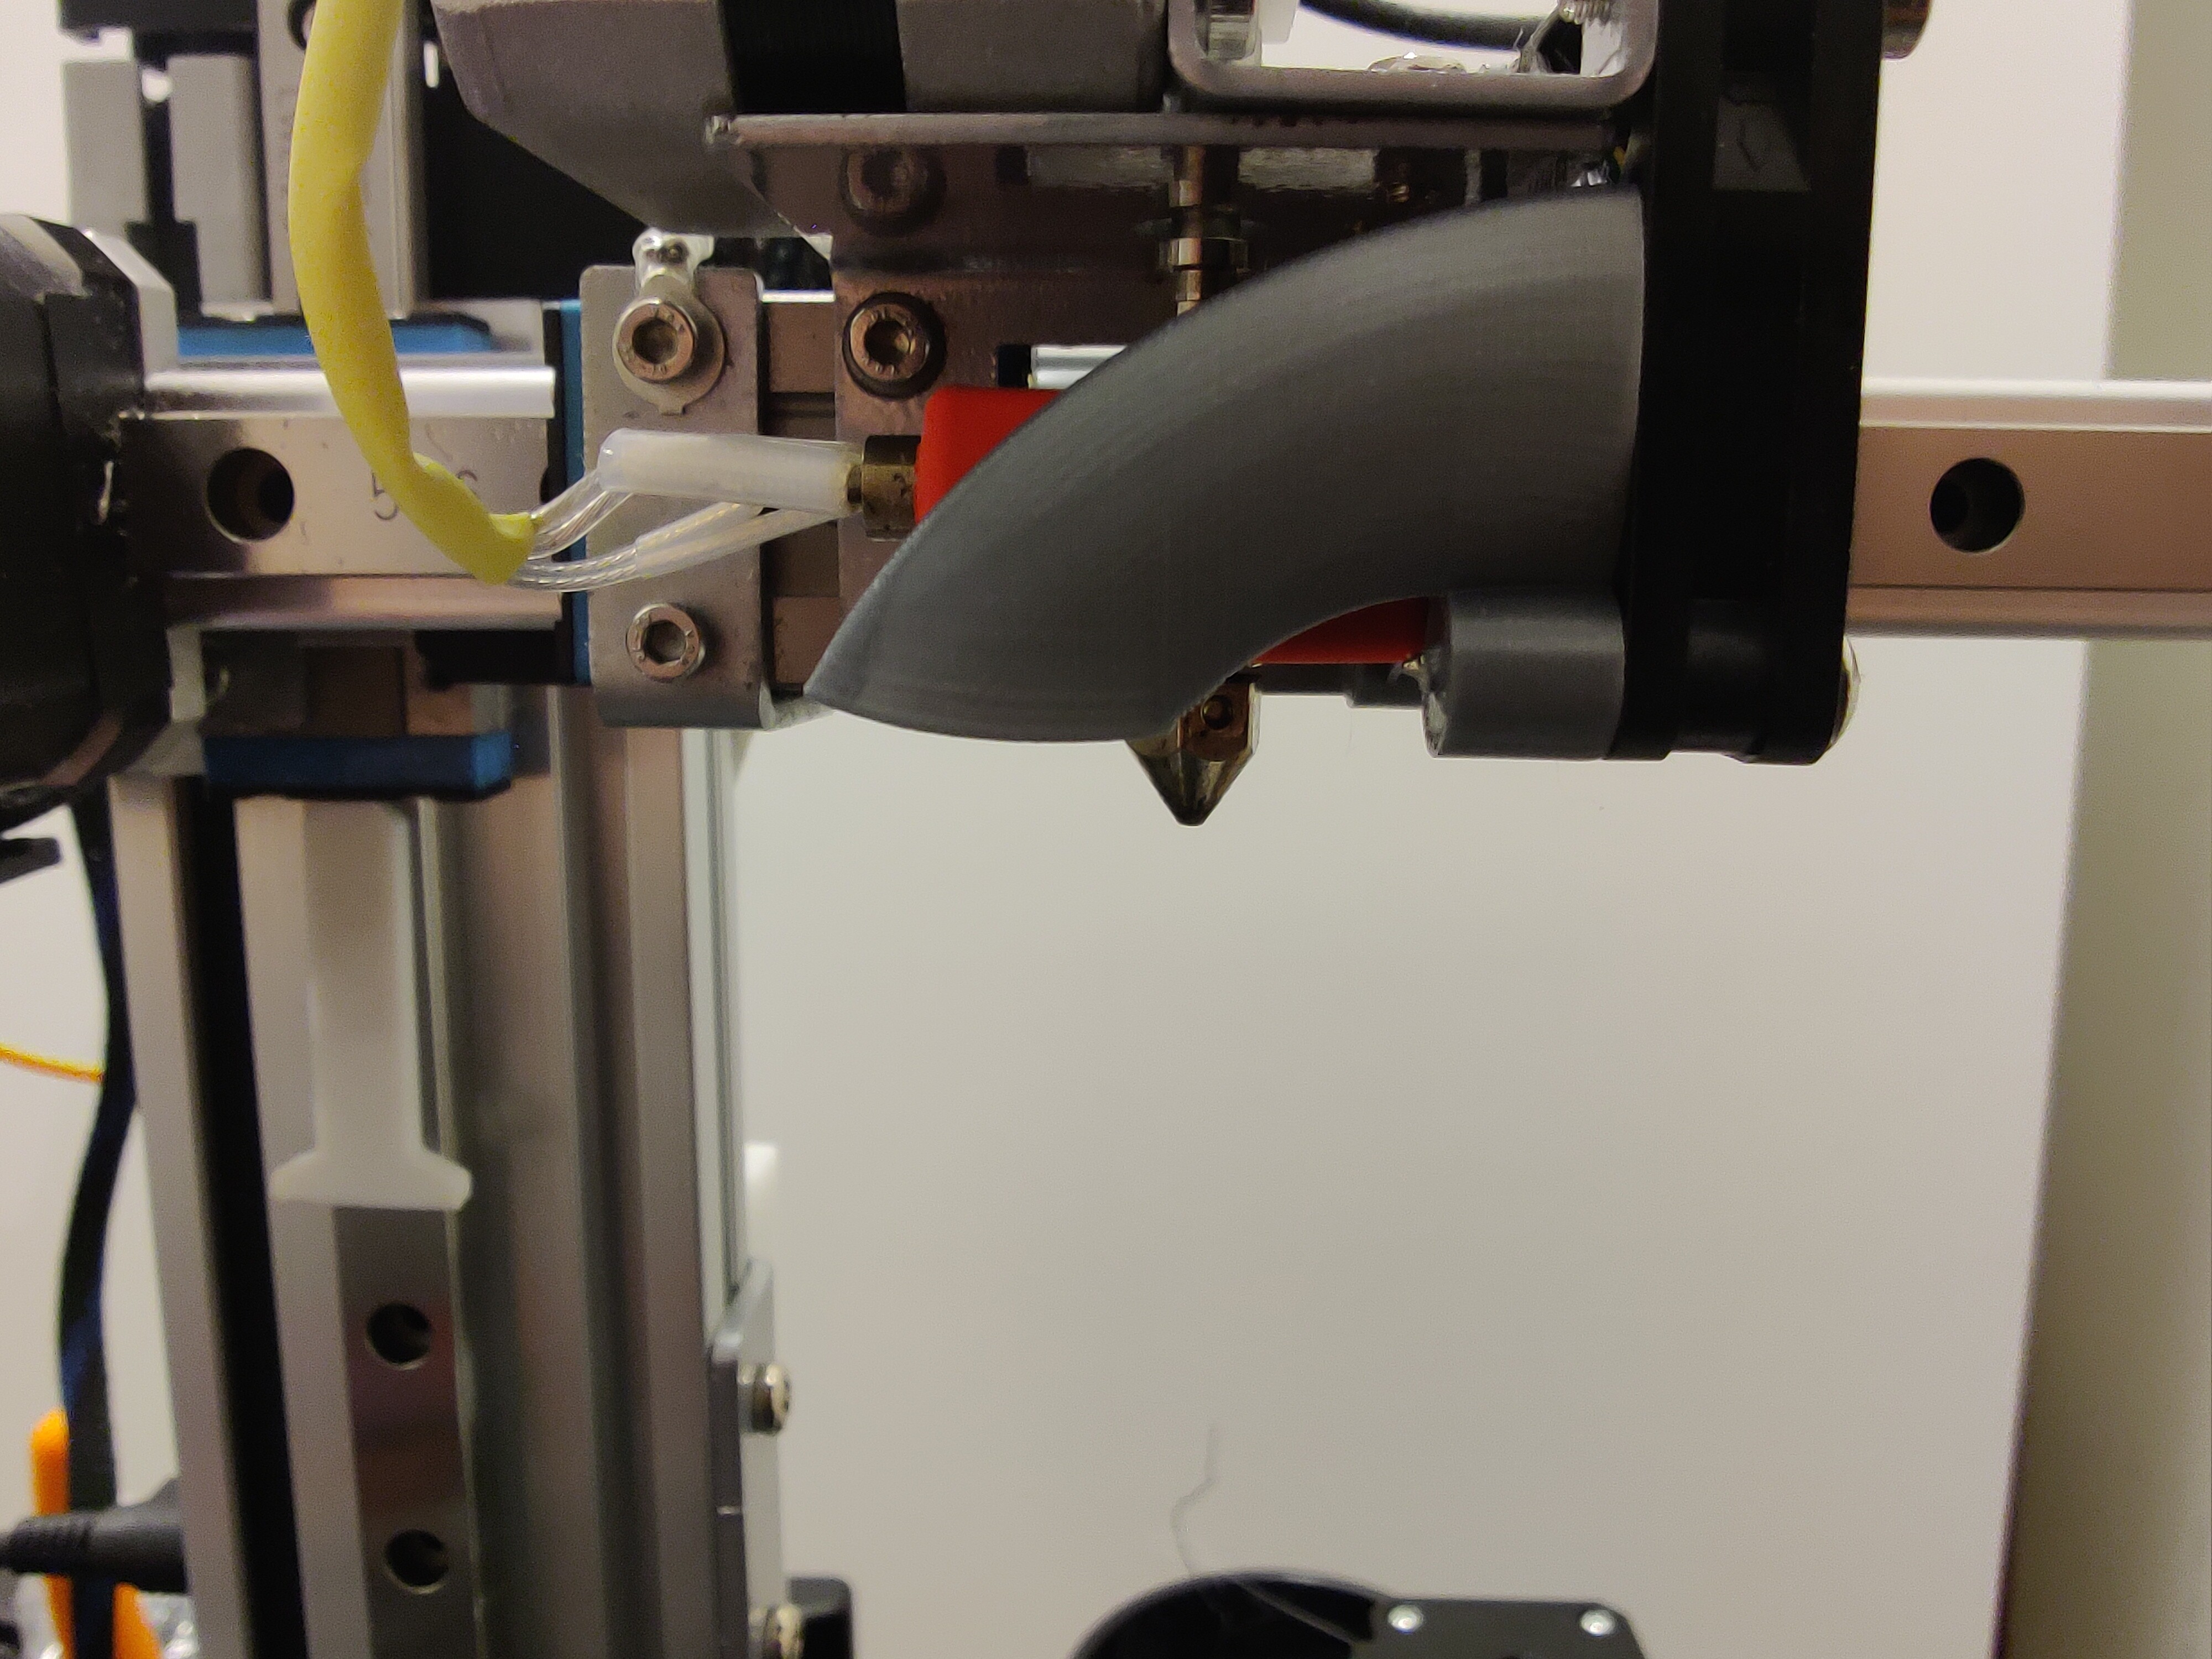
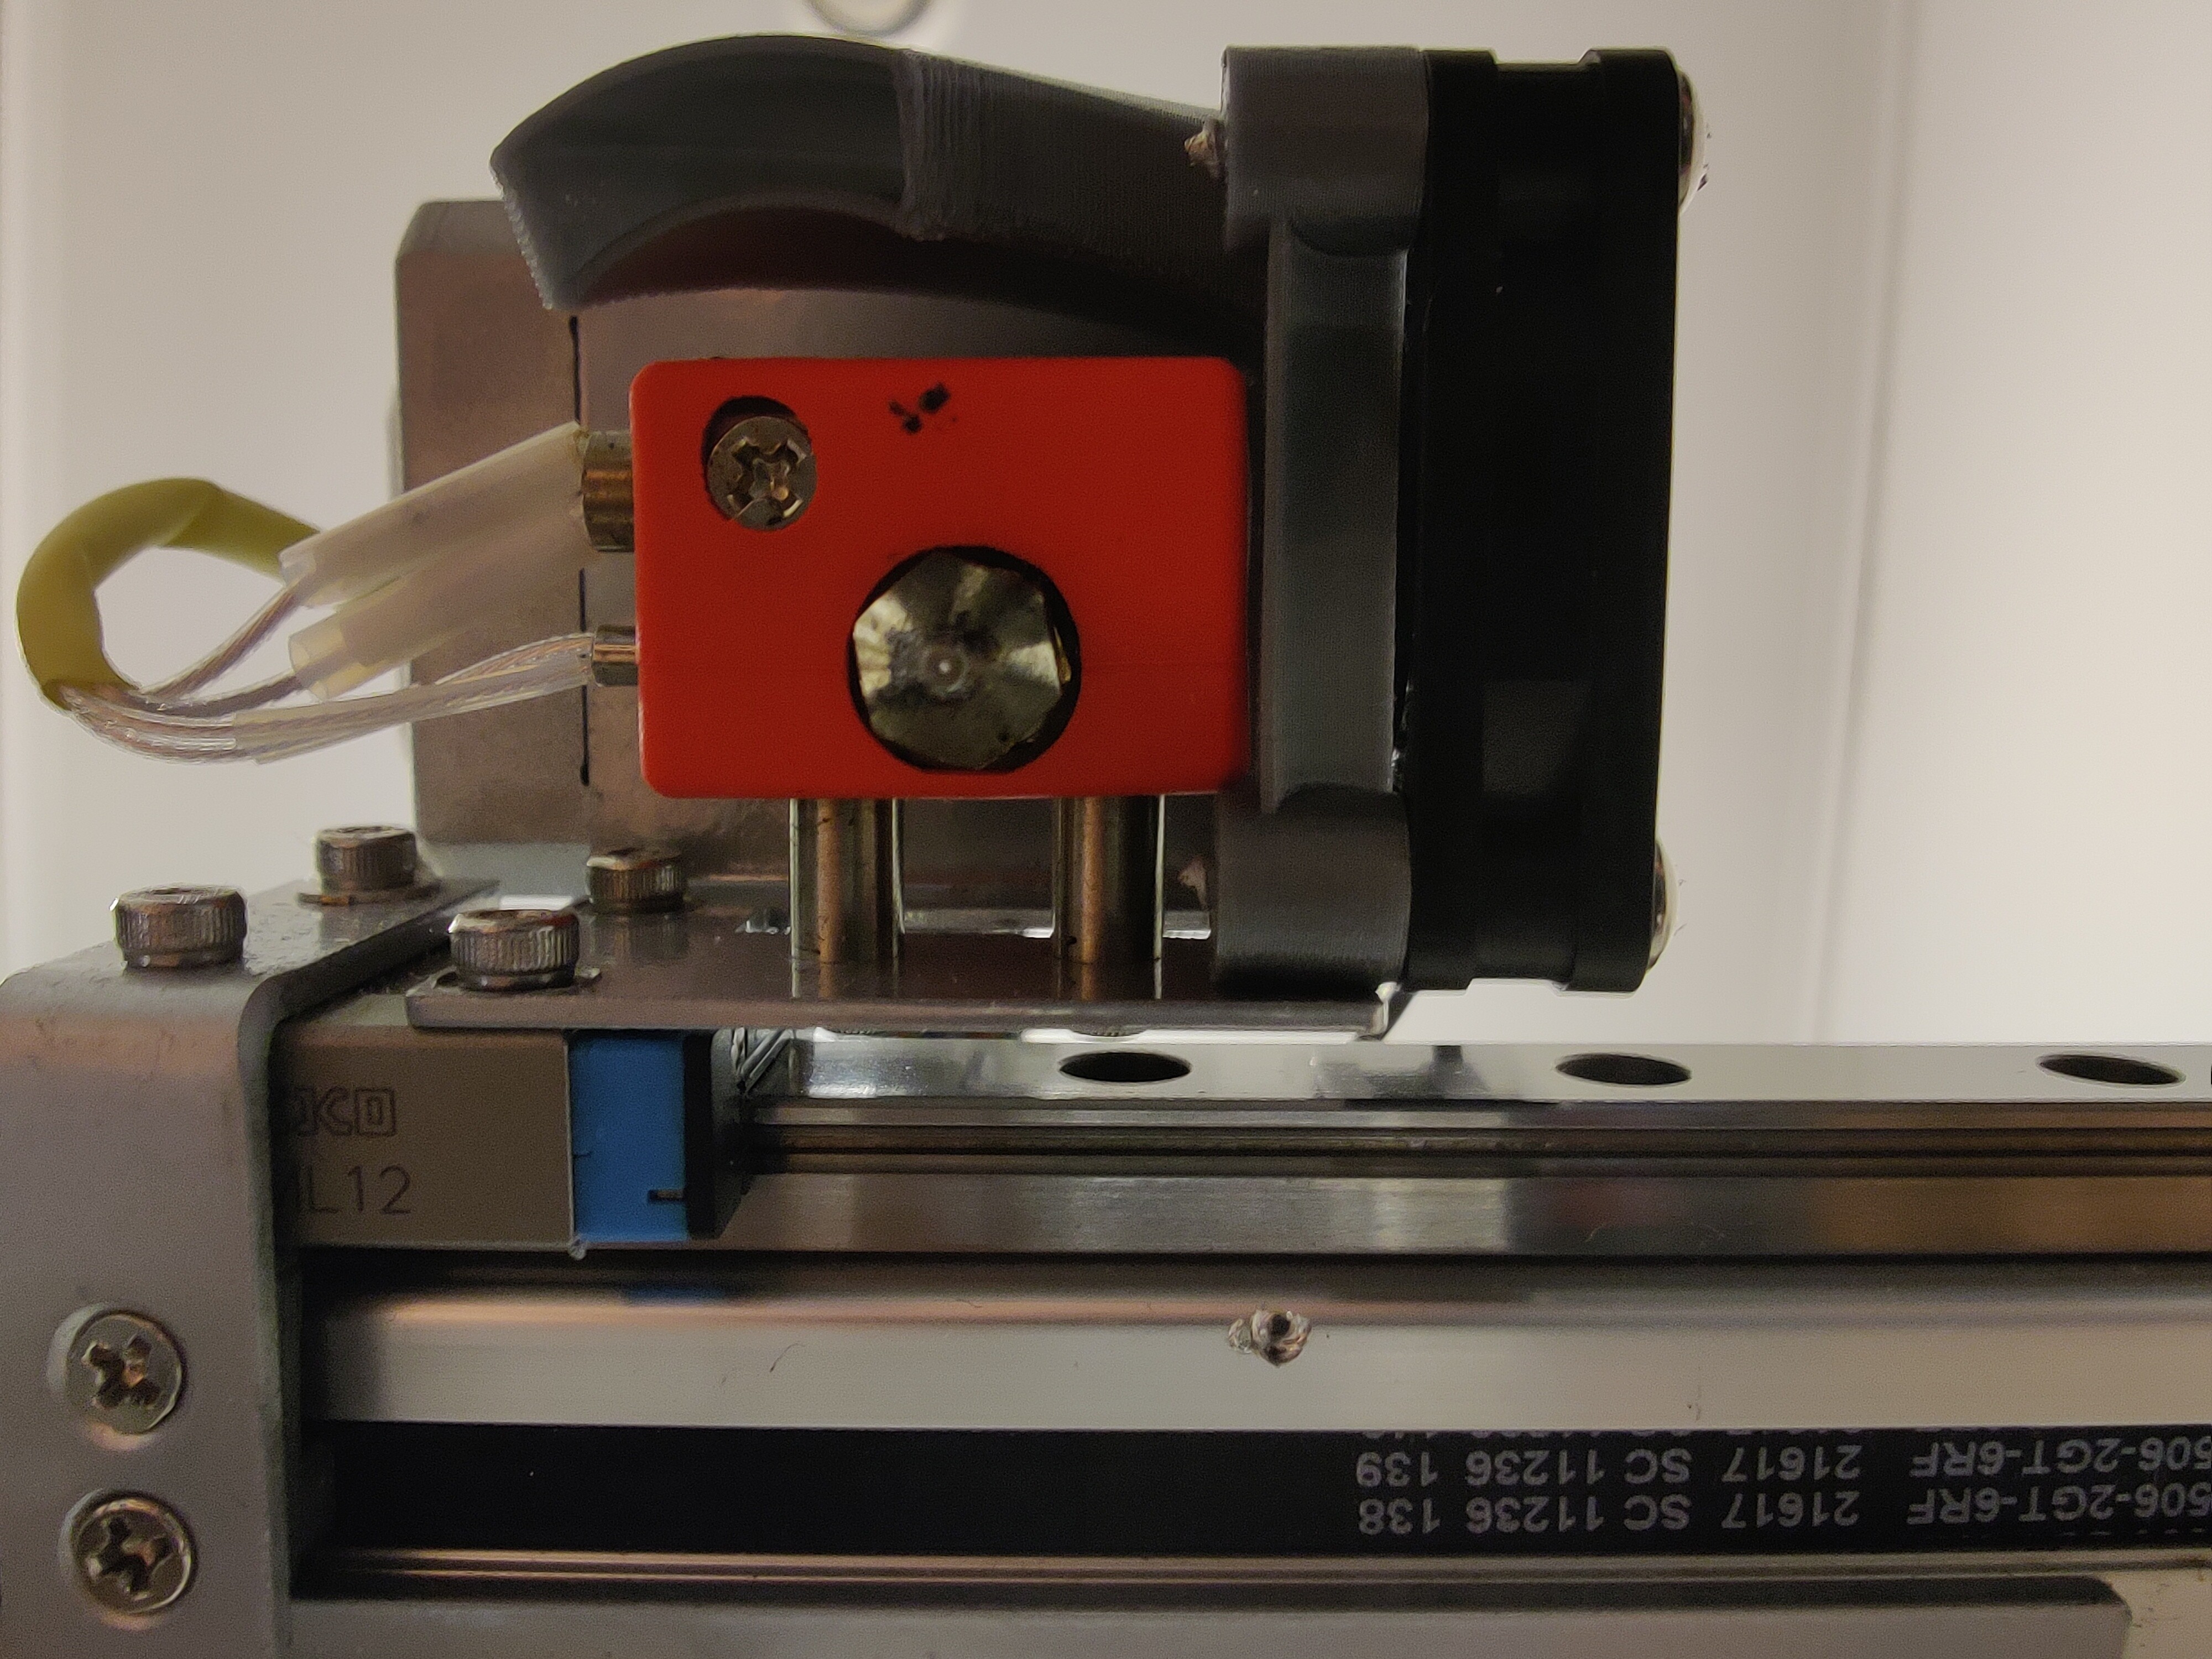
I would suggest a couple of spacers to the fan mounting but that would reduce the upper nozzle cooling. The upper nozzle cooling is extremely important to reduce nozzle clogs for this style of heatblock/nozzle assembly. The nozzle stabilizer mod you will be receiving moves the heat zone closer to the heatblock thereby reducing the need for cooling of the filament-entry-point of the nozzle, so you could then mount the fan with spacers to align the cooling duct.

I prefer to see the nozzle tip while printing because I use a high-speed nozzle-cam to analyze and fine-tune the filament flow, especially when using exotic filaments. Until you receive your mod package you might try using the stock style of ducting.

When you install the nozzle mod you are going to be amazed with the boost in print quality… I was! That stupid-simple little mod completely changed my 3D printing experience. Waaay better-quality prints and combined with the z-stab mod… much faster printing! I just can’t wait to get the mods to you… I wanna see your jaw-drop and the perma-grin that follows.

I recently installed Slice Engineering’s Copperhead assembly and damn it’s awesome. I’m using their Vanadium nozzles… another game changer! I’m also using V6 E3D brass nozzles allowing for temperature-stable high-speed printing… how fast? …models without sharp direction changes… 110+ mms/sec …on proof-of-concept models when I don’t care about perfect-quality … 130-150 mms/sec…even at 130+ speeds the prints are a decent quality.

With the Copperhead upgrade I’m printing eSun PLA+ with a 0.15mm brass nozzle, the level of detail achievable is amazing. I ordered a few E3D V6 brass nozzles “undrilled” …yup…I’m goin’ sub 0.10mm nozzles for super detailed models. I’ll probably drill a 0.10mm nozzle first and then drill a 0.08mm nozzle. I’m trying to convince Slice Eng to provide me with a 0.10mm Vanadium nozzle, I don’t have the tooling to drill Vanadium.

Oh, I’m using a Boron Nitride paste for the heatblock components…important that it’s “Boron”… huge difference in heat-transfer compared to regular pastes, I’ve done the research and testing for you. Aaaand “Plastic Repellent Paint”… huge reduction of blobs deposited on your prints!

The other news is I’ve designed a new cantilever style 3D printer(same style as Cetus). It will integrate all the mods I’ve designed, the physics I’ve learned about the cantilever-style and more. The print-platform size will be around 200x 200mm, maybe a touch bigger. A completely new y-axis assembly that does not use aluminum extrusion and only the heatblock/nozzle assembly will ride on the linear rail… I know… you’re likely thinking Bowden …and you’d be partly correct… I’m calling it a “Bowden Hybrid”. The benefits of a Bowden system without the drawbacks/cons. I’m thinking open-source and completely modular, meaning, mix and match components. I wanted to keep the Bill-of-Materials list low and the cost low as well. There’s no way I can do this solo, I’m hoping to gather a team together and get things rolling.

If you purchase from Slice Engineering mention Brent from Technology Salad, who knows, you might get a discount or a lollipop.

Happy Printing guys!
Brent

Cool work being done here to optimize the Cetus MK printers.
Regarding the upgrade kit has anything been done to address the slop in the x-axis. I have seen videos showing apparent movement in the x-axis if one twists it at the extruder. Seems to be the weakest point?

@glider, So you know…on the Cetus the y-axis is where the extruder exists and the x-axis for the build-platform. The other difference from common 3D printers is the z-axis is reversed, so z0.00 is at the top of the z-axis tower.

The y-axis is the weakest of the three. It’s a bit deceiving because you would think the steel linear-rail would decrease the axial torque across the length of the y-axis. Unfortunately, a fair amount of the promise-of-precision from the use of a linear-rail system on the y-axis is lost due to the use of aluminum extrusion as the mounting-structure for the linear-rail system. Basically, something precise is being mounted to something far less-precise. This type of aluminum extrusion was never meant to provide a backbone for precision linear motion especially when axial forces are at play within a cantilever style printer. Another component, the steel bracket the y-axis assembly is fastened to, does very little to strengthen against the forces of z-axis movement, filament advance, filament retraction and extruder-assembly deceleration… the major forces contributing to the axial deformation of the extrusion over the length of the y-axis. That steel bracket provides for an easy install of the y-axis and it does provide a reasonable foundation for when the extruder assembly is working at the unsupported end of the y-axis, but most of that rigidity is only on the steel bracket side of the aluminum extrusion.

The y-axis on my Cetus is heavily modified, there are 9 mods, the extrusion is milled flat, the steel bracket is milled where the extrusion is seated, 4 mods added to the motor-end, two larger bolts added to fasten the linear rail to the steel bracket and the bolts fastening the linear rail have an equal amount of torque applied. Ideally, the extrusion must go and it will on this Cetus… soon! And no steppers attached to the y-axis!

Cheers

@glider , I should also note the heat-block where it’s mounted by the two ss tubes is quite weak and adds to the slop in the y-axis. To test, the next time you swap-out a nozzle… before you advance the filament into the nozzle… press downward or upwards on the heat-block to simulate the pressure from the extruder-motor advancing and retracting the filament, but don’t press too hard or you could bend/shear the bolts hidden in those two ss tubes, and only test when the heat-block is cold.

Cautionary note: If you decide to perform that test please know you will likely have to re-calibrate the z height by performing the bed-leveling procedure in UpStudio or whichever method you use.

As part of your printers preventative maintenance routine those two bolts inside the ss tubes should be snug. As always, tightening anything other than the nozzle should be done when the printer is at room temperature, there’s a ton of critical aluminum parts. Those two bolts have fine-threads, and if the aluminum heat-block is warm or hotter, the threads in the heat-block will deform and weaken when tightening those two bolts. If you’re not sure of how much to tighten those two bolts install a regular spring lock-washer(not heavy-duty) under the bolt heads, and when tightening… only tighten to the point when the two ends of the lock-washer align and no further.

Cautionary note: Remounting the heat-block is a real pain, seriously, it’s a major hassle to get the ss tubes aligned properly, the bolts need to be located in the middle of the ss tubes so the heat-loss from the heat-block is contained efficiently… three hands recommended.

I’ve read many Cetus owners asking for tech support when they hear the famous extruder thumping when there’s an issue with filament not advancing properly. If you experience the thumping event and depending on the severity of the filament not advancing properly, the heat-block and nozzle assembly will have moved up-and-down and temporarily flexed at those two ss tubes. You might want to check the two bolts that mount the heat-block are still snug.

You might be thinking… well geez… I’ll just get rid of those two ss tubes and the bolts within and mount the heat-block with a beefier chunk of whatever… don’t do it. A neat little package of thermal engineering is at play there and any .::significant changes::. will suck the heat out of the heat-block like crazy. My recommendation: remove the two ss tubes and the bolts, don’t replace with anything in that area and install a stabilizer on the nozzle just above the heat-block as I did earlier in this post. Your print quality will double and it will lower the heat-zone closer to the heat-block and lessen the heat-creep you are most definitely experiencing every time you print … you’ll be on-the-right-path to the benefits of the heat-breaks in the most expensive extruders available today.

Cautionary note: don’t try to tighten anything when the printer is printing and don’t put your tongue on the nozzle 'cause you need the $20 from a dare. Don’t do anything I recommend without careful thought 'cause you will experience a boost in satisfaction, a much higher-quality printed product and spontaneous happier moments every-time a print finishes… 'cause I’ve heard… too much of a good thing can be addicting and I have no idea how to un-addict you.

Cheers

@techsalad, Thank you Brent for your answers!
I can not wait for the mods arrive! You have hyped me up good :smiley:
I have to look in to that Copperhead assembly, i guess there is not a plug and play for the cetus, and i’m severely limited right now on what tools and equipment i can use to manufacture parts and components to make it fit alright. Your speeds at 130+ is out of this world and i would love to reach those speeds with a descent quality.
I look forward to receive the mods and follow you up on your new 3D printer project, it sounds like you have done great research and knows all flaws and benefits in this type of printer and i think you will succeed.

Take care!
Tobias

Hey Brent Ive been following this thread for quite some time and am glad to see the progress. I just saw that you have/had shipped out some of the things you’ve worked on. I was wondering, do you have any photos of the mods you currently have available? And do you have any idea when you’ll be making/shipping out the next batch? Thank!