uoji 2017-4-2 16:27 edit
Hi, all.
Can someone post the gcode for a 10x10x10 cube out of Simplify3D that works, so I can tinker arround and get the gcode from slic3r working. Havn't had any luck so far. Always geting a "Motion System error".
Thanks
uoji 2017-4-2 16:27 edit
Hi, all.
Can someone post the gcode for a 10x10x10 cube out of Simplify3D that works, so I can tinker arround and get the gcode from slic3r working. Havn't had any luck so far. Always geting a "Motion System error".
Thanks
No one is using Simplify3D, ok got that. So Cetus team please release a how-to for slic3r and other slicers.
Thanks.
You might try over on the FB users group page, it's more active than here.
https://www.facebook.com/groups/1122442167791001/
Racush 2017-3-28 21:28 edit
Forgot to post yesterday but here is a simple cube in g-code at requested scale g-code download here: 10x10x10 cube
[quote][size=2][color=#999999]Coop42 post at 2017-3-28 12:48[/color][/size]
You might try over on the FB users group page, it's more active than here.https://www.facebook.c …[/quote]
Thanks for the advise. But I am not on Facebook.
[quote][size=2][color=#999999]Racush post at 2017-3-28 21:25[/color][/size]
Forgot to post yesterday but here is a simple cube in g-code at requested scale g-code download …[/quote]
Thanks man. Now I can toy arround.
Slic3r G-Code running now, yeah...
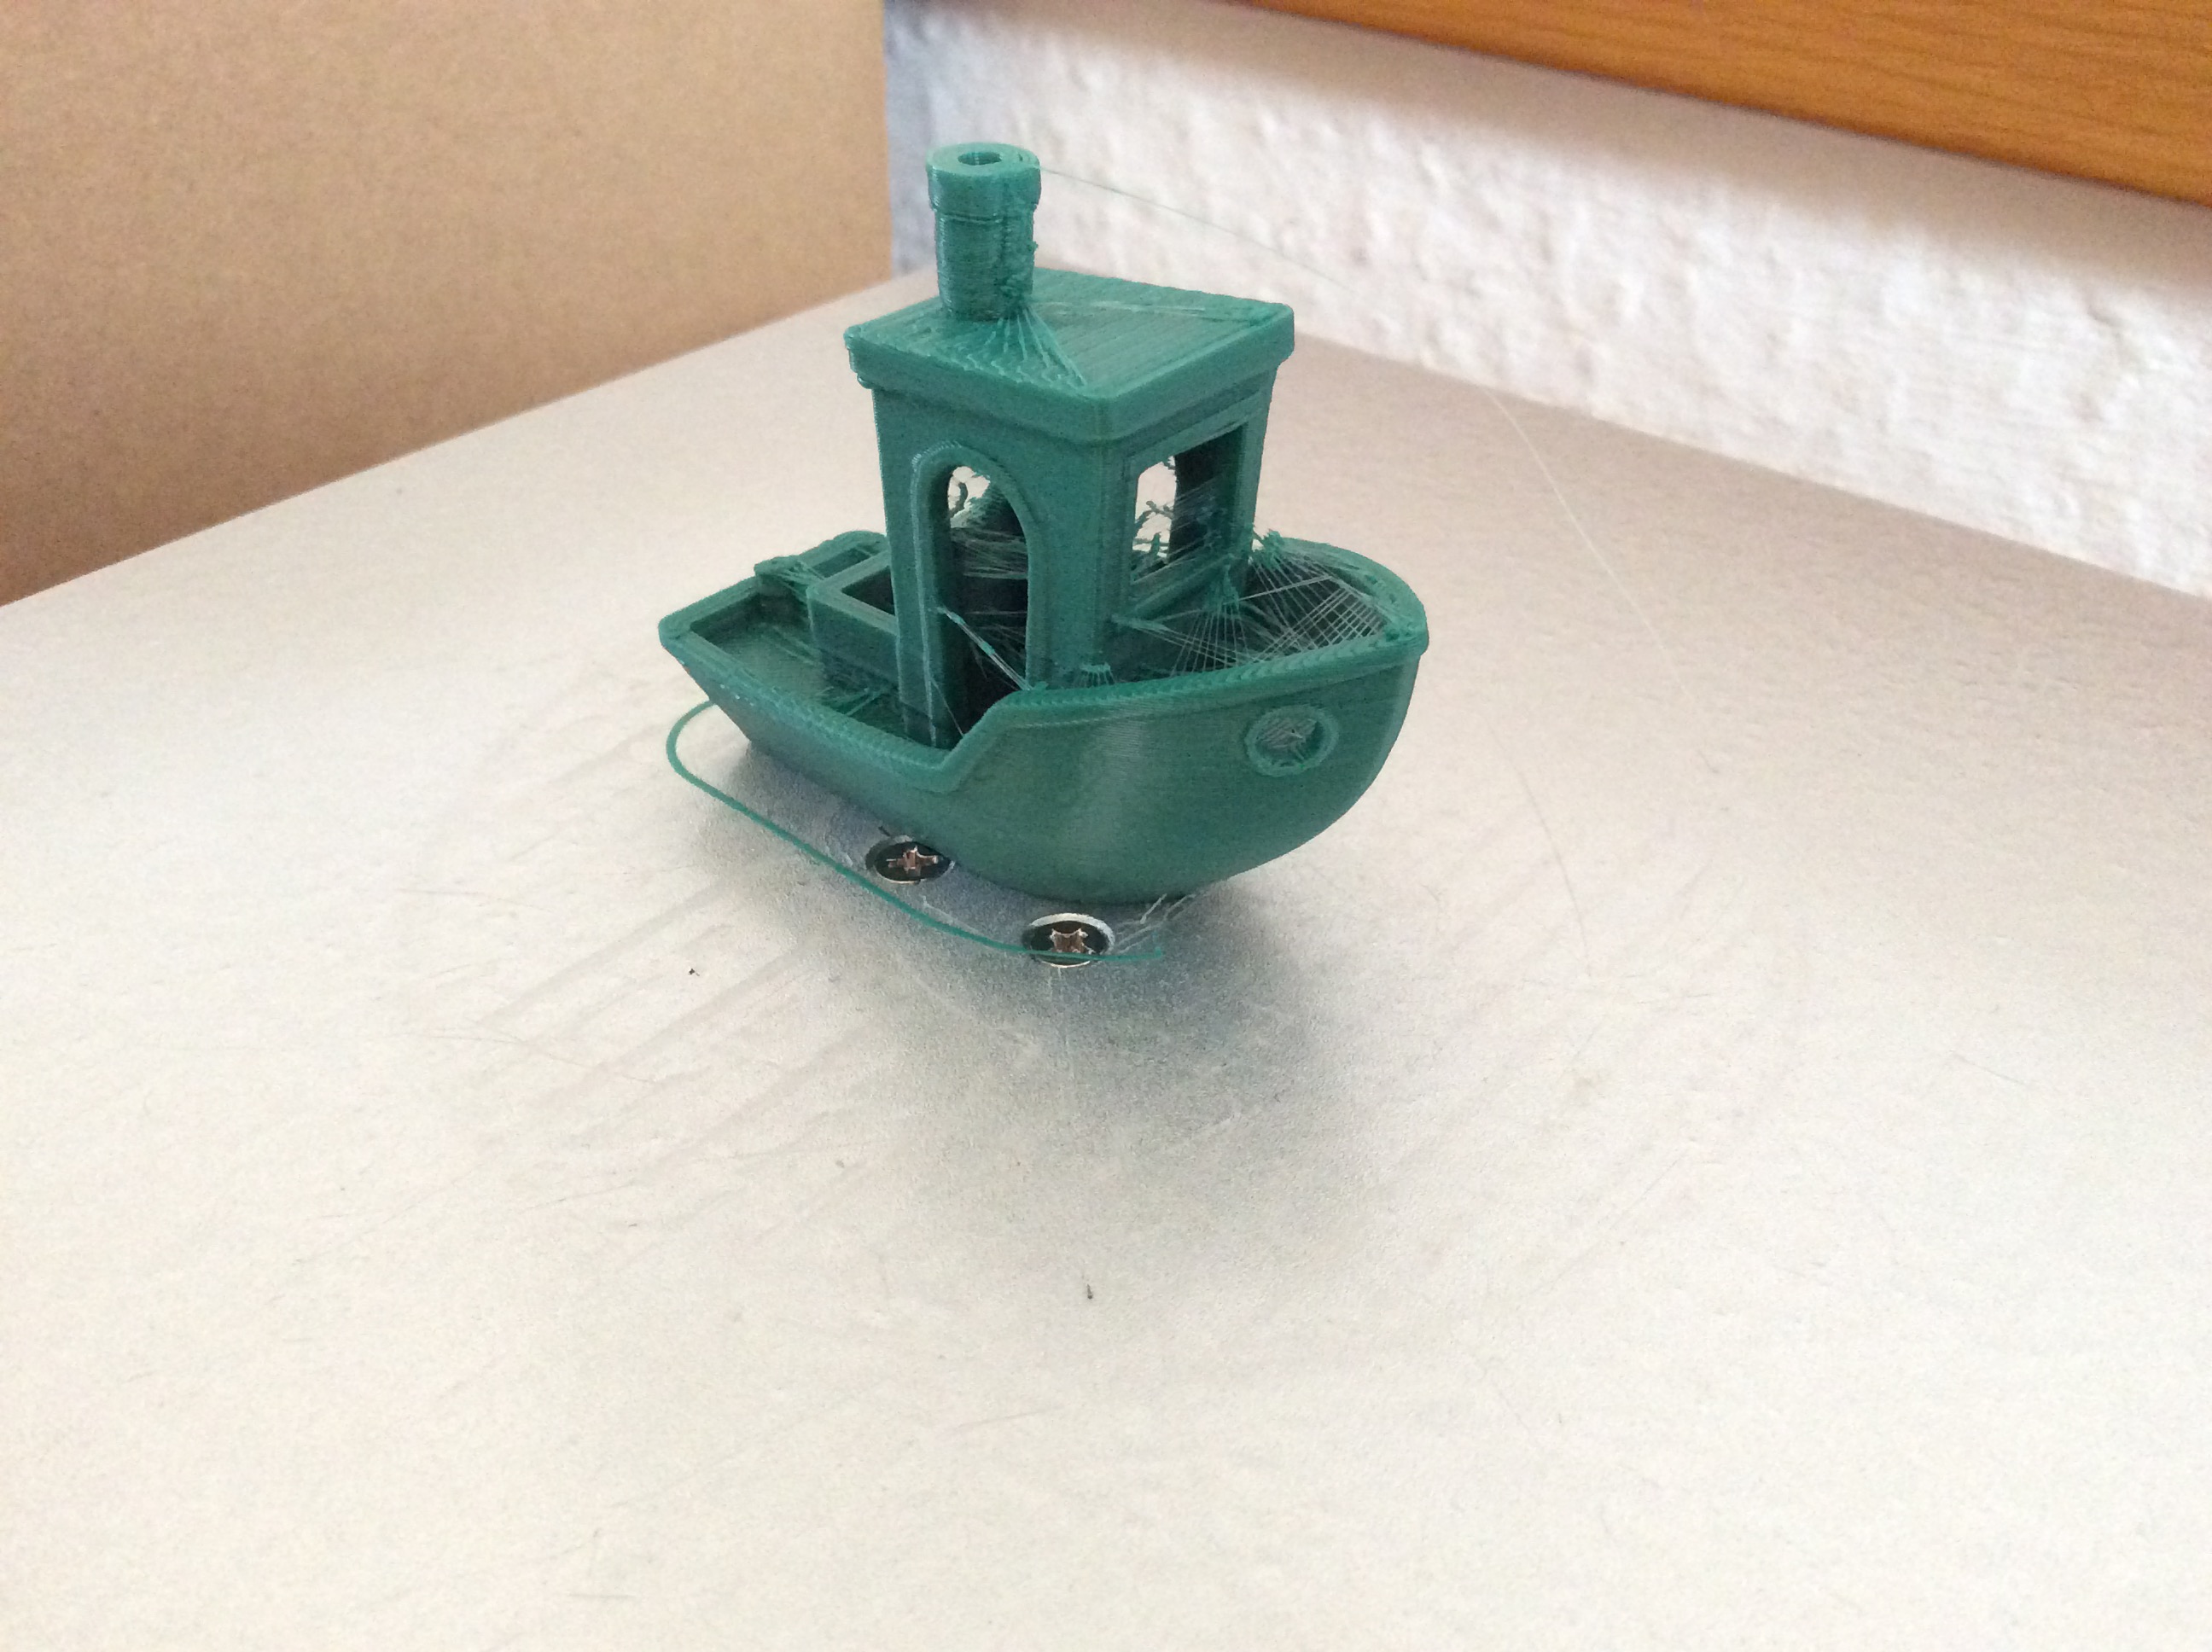
Need to tweak it a little bit more, as you can see.
hi. pretty nice.
would you please share your settings inf you are comfortable with it
[quote][size=2][color=#999999]Karondkar post at 2017-3-30 18:05[/color][/size]
hi. pretty nice.would you please share your settings inf you are comfortable with it[/quote]
Yes I will!
[quote][size=2][color=#999999]uoji post at 2017-3-30 14:55[/color][/size]
Slic3r G-Code running now, yeah…Need to tweak it a little bit more, as you can see.[/quote]
nice to see you got things moving!
After some tweaks you should get some great prints out of the printer.
Awesome job uoji!
[quote][size=2][color=#999999]uoji post at 2017-3-30 20:50[/color][/size]
Yes I will![/quote]
Thank you very much
So this is the 3DBenchy after some tweaking
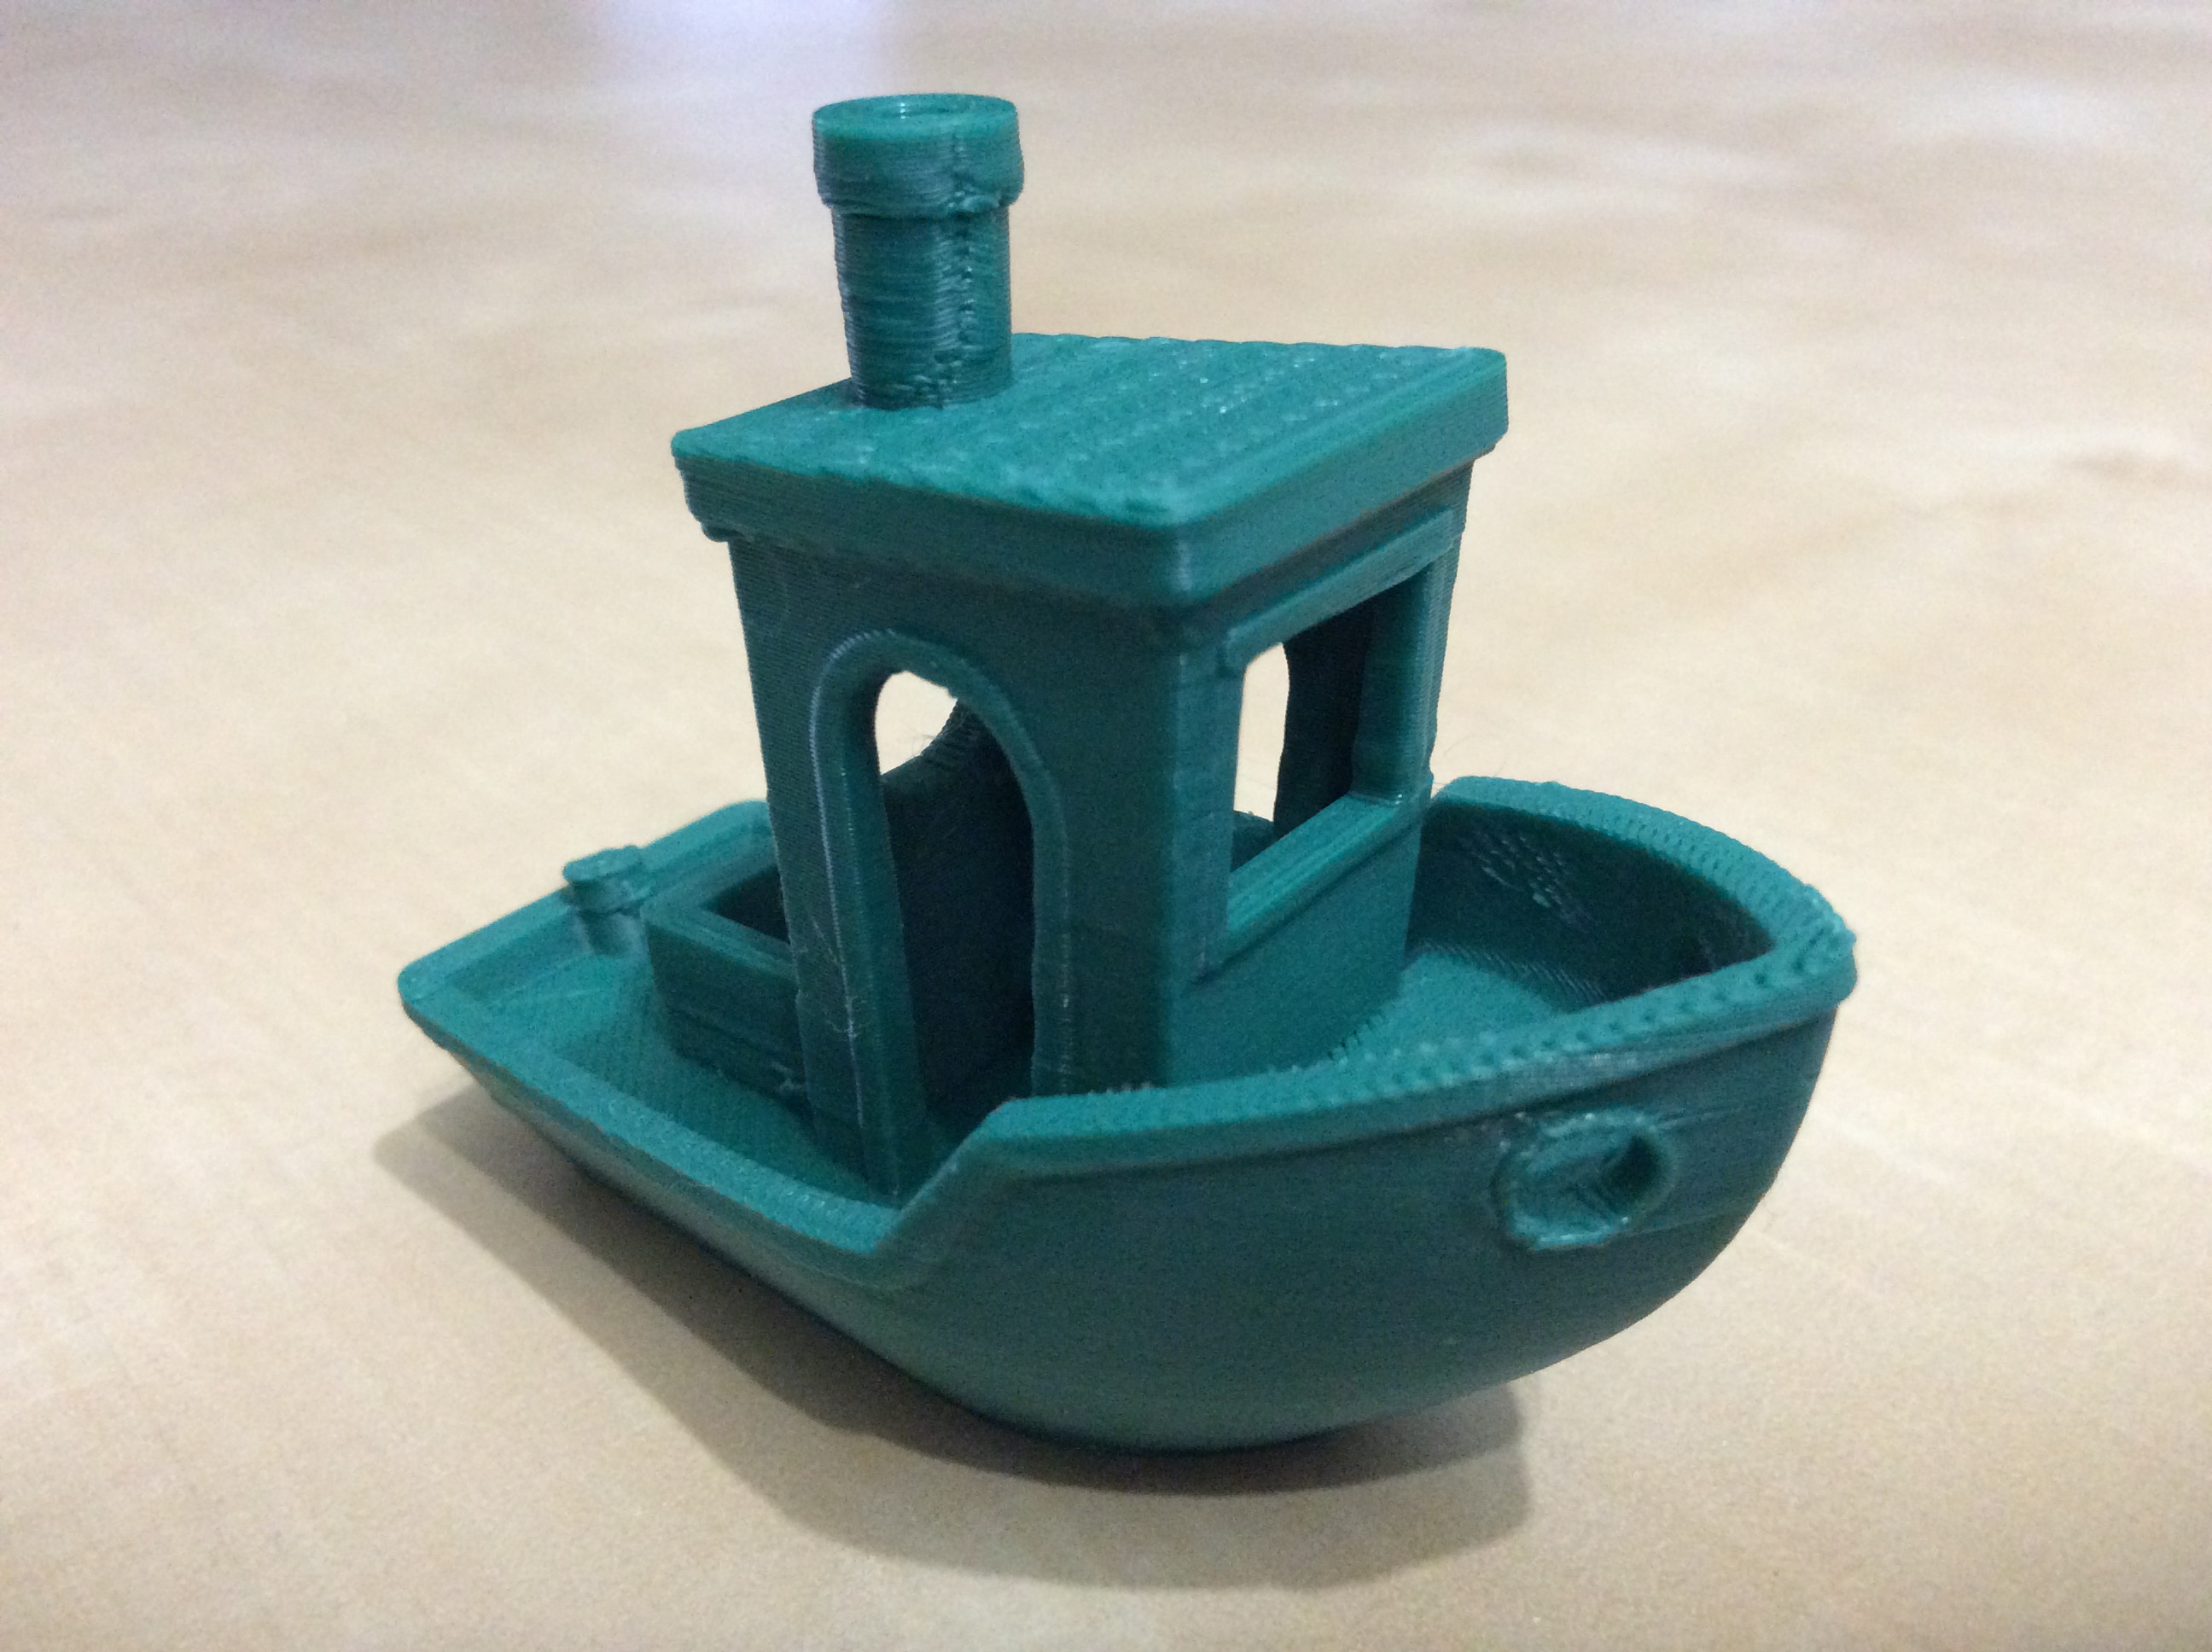
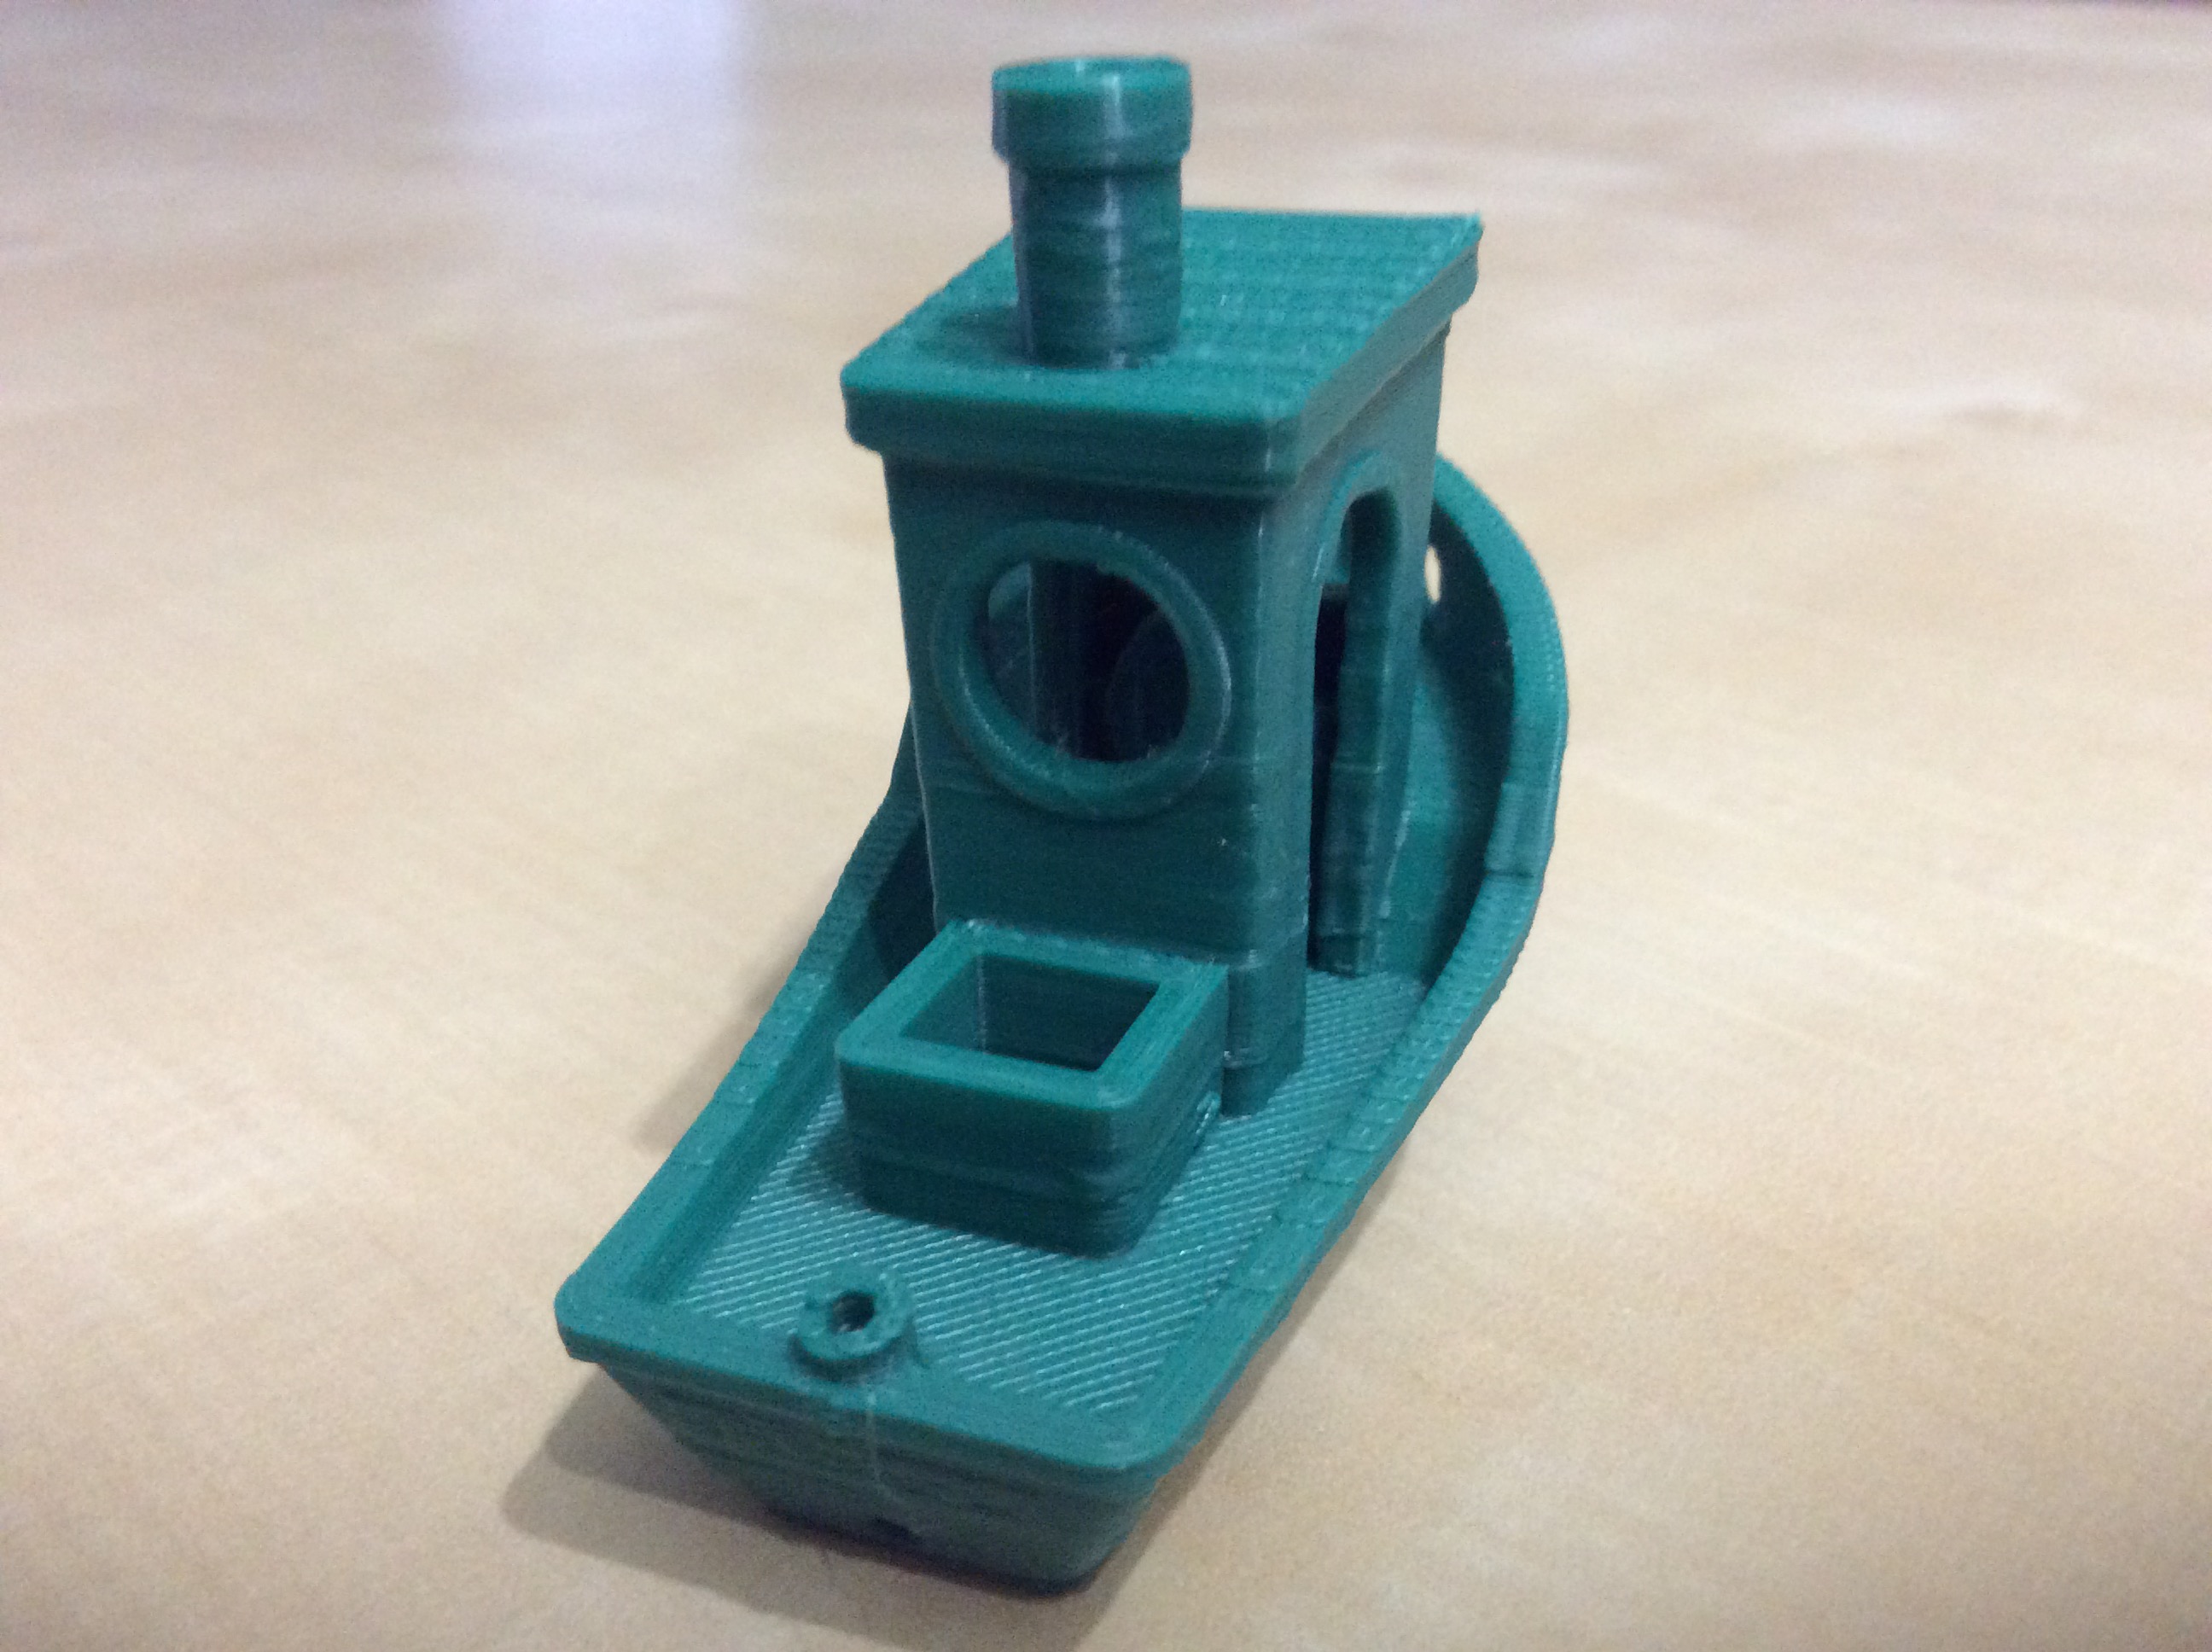
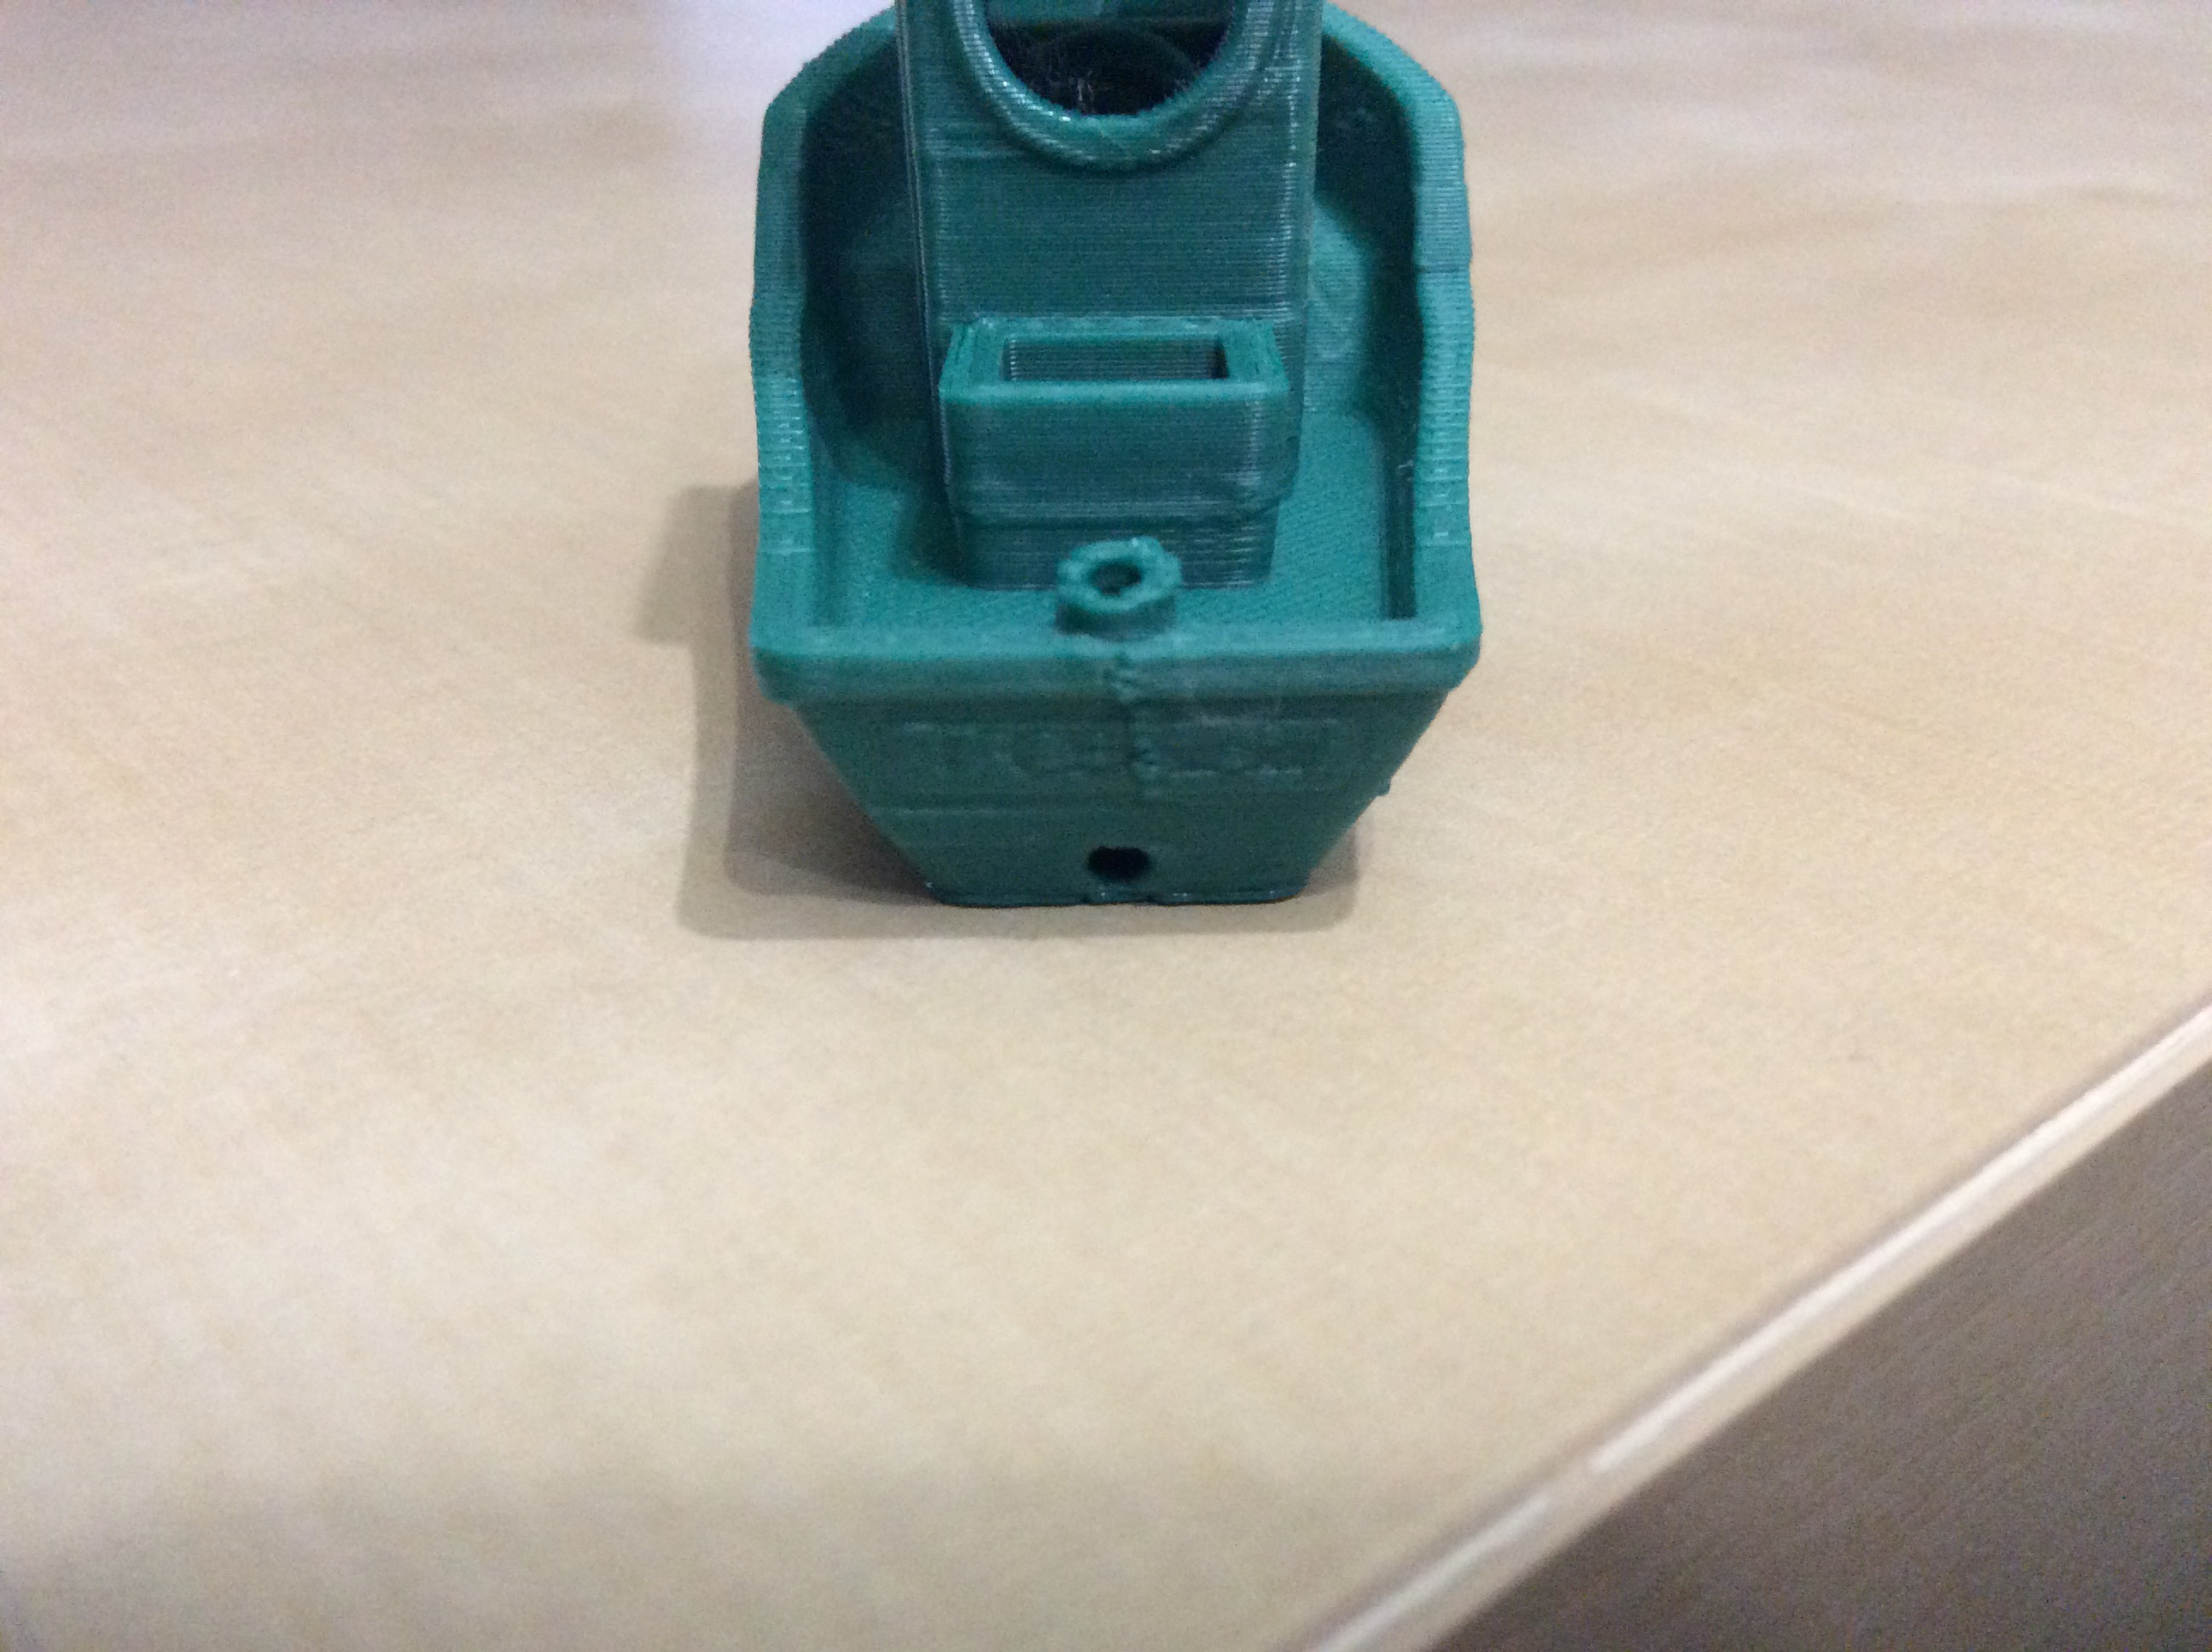
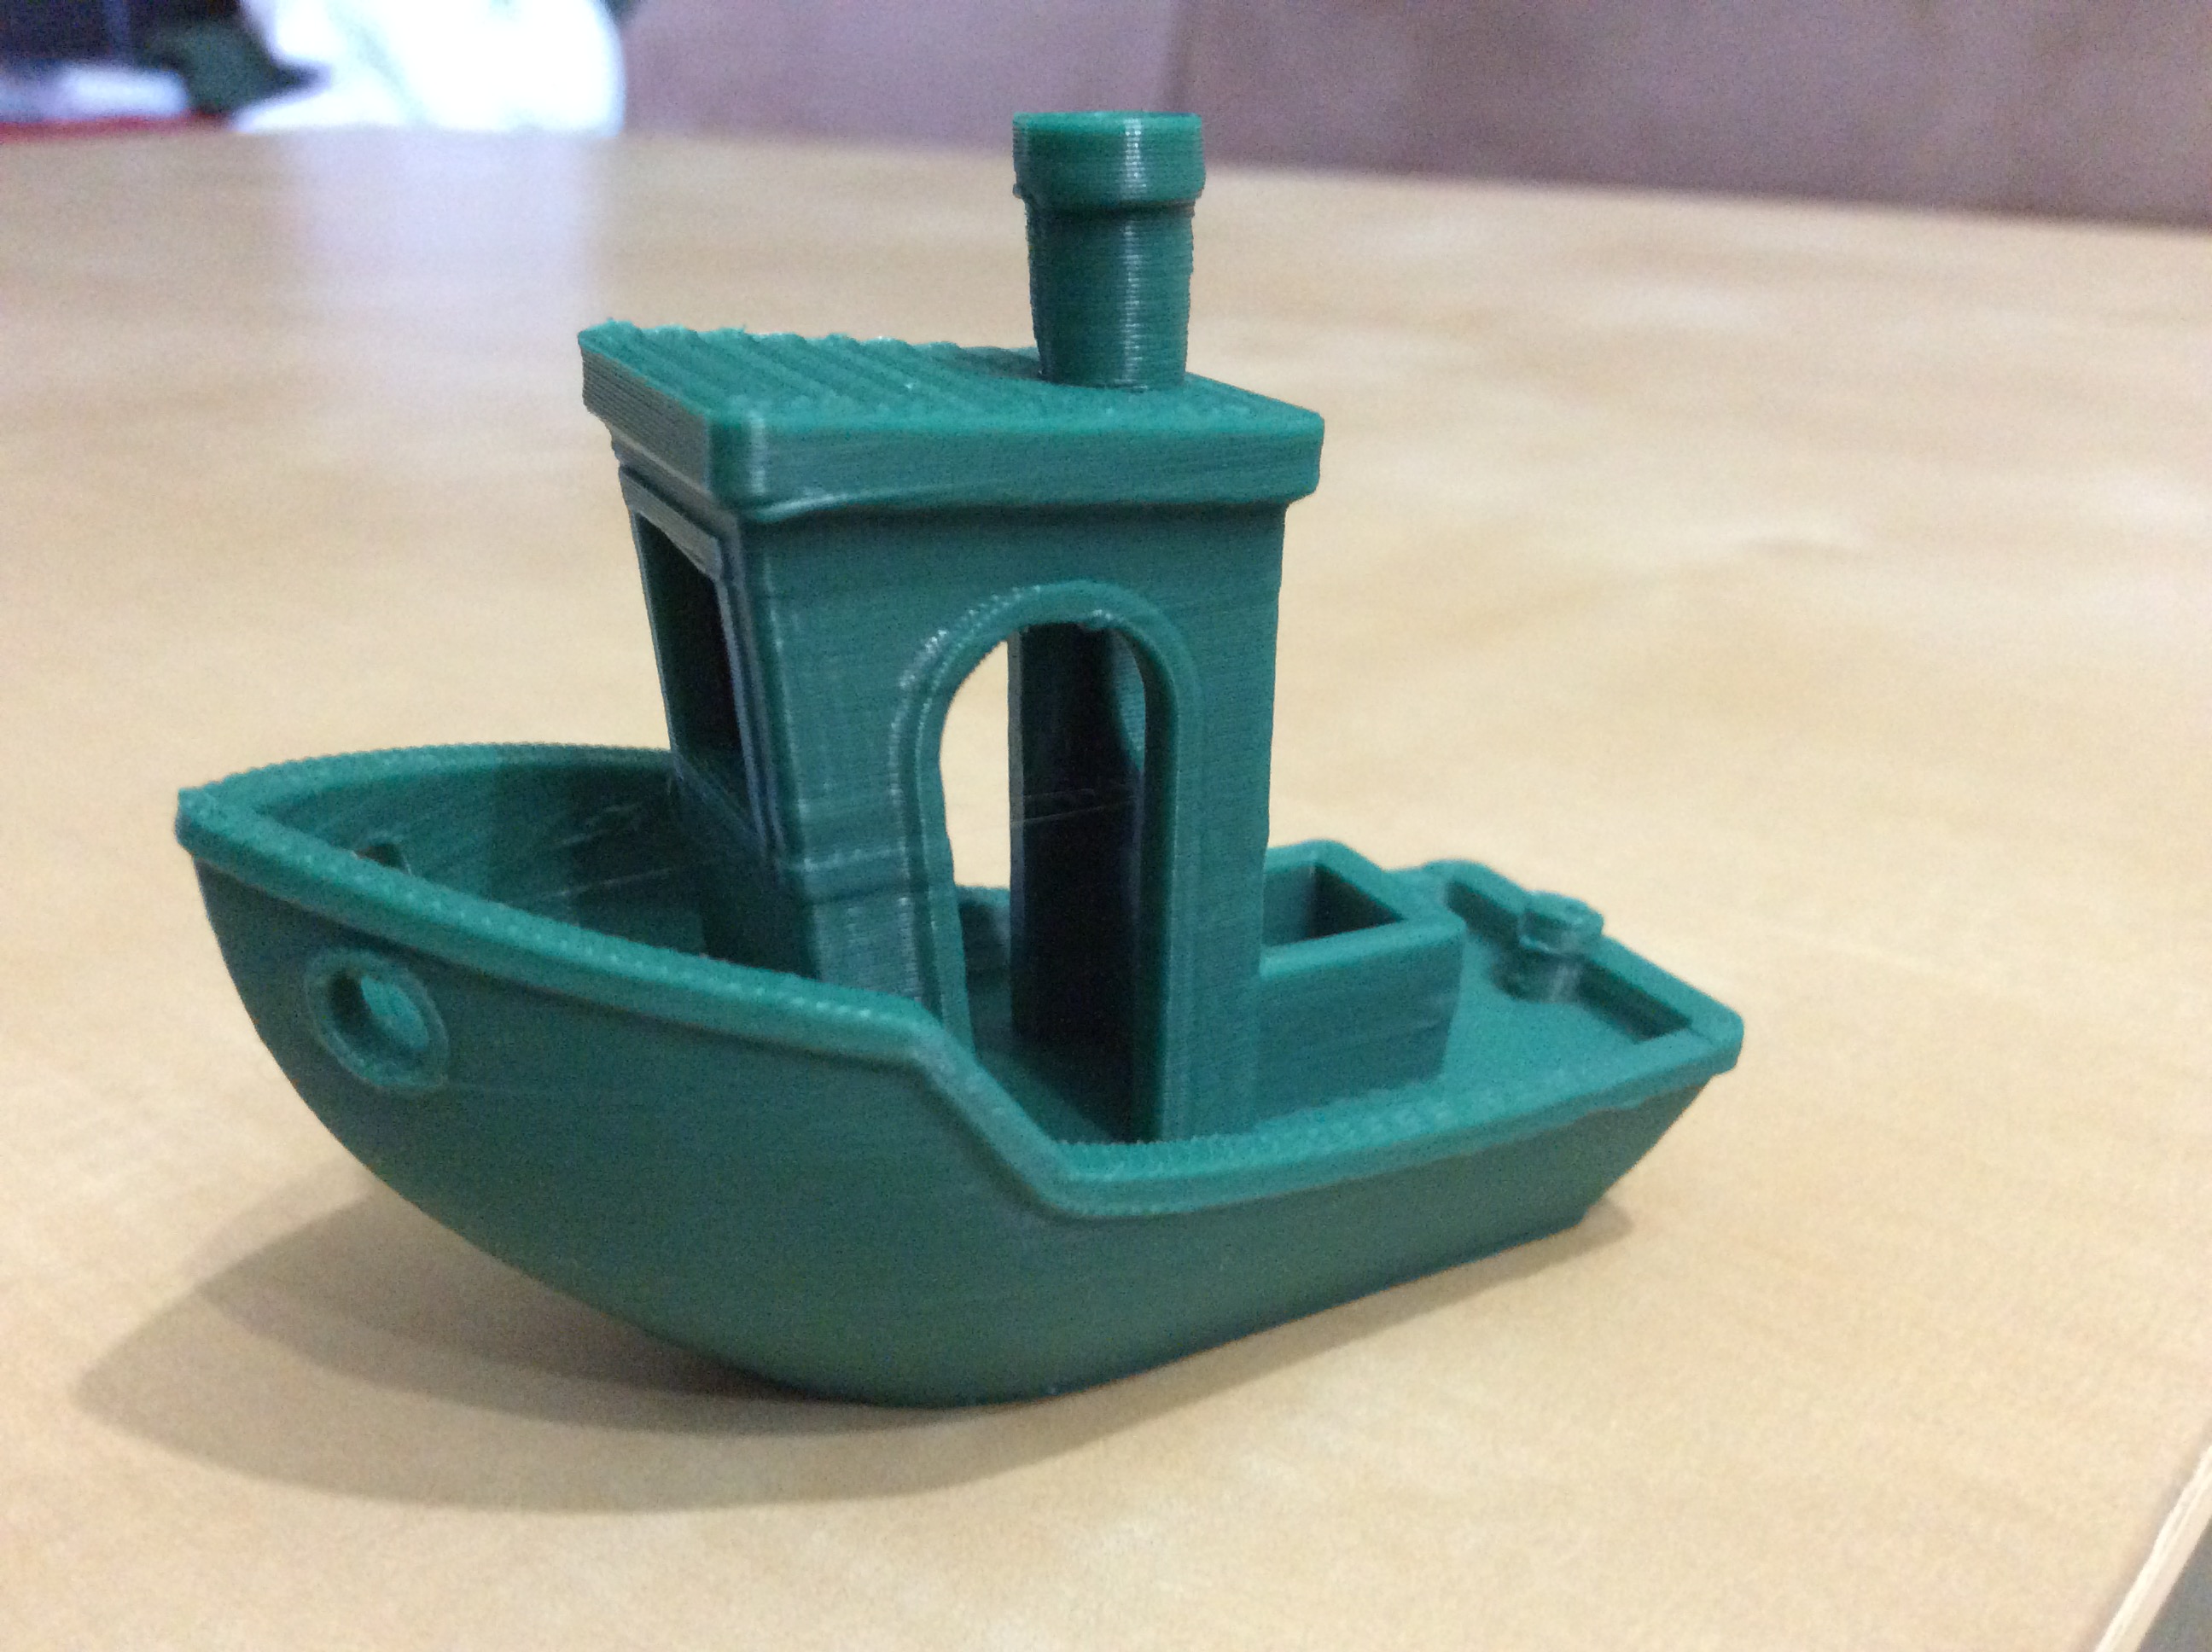
For me personaly this is good enough, and now I can make my 0.2 nozzle with 0.05 layer height to work for my miniatures yeah!
I will extra post my config for slic3r.
Copy the text below and create a .ini file, then in Slic3r: File -> Load Config...
NOTE!!!
This is for the extended version. A good starting point for Z-Offset for the standard version would be the value from Cetus3D software and subtract that by 1. My Cetus3D Software value was 319.10 and it scratched into the build plate with Slic3r.
Have fun with that config and post your improvments and maybe one day we will have a nice config for the world to use.
# generated by Slic3r 1.2.9 on Tue Apr 4 12:17:09 2017
avoid_crossing_perimeters = 0
bed_shape = -180x0,0x0,0x180,-180x180
bed_temperature = 60
before_layer_gcode =
bottom_solid_layers = 3
bridge_acceleration = 0
bridge_fan_speed = 100
bridge_flow_ratio = 1
bridge_speed = 60
brim_width = 0
complete_objects = 0
cooling = 1
default_acceleration = 0
disable_fan_first_layers = 3
dont_support_bridges = 1
duplicate_distance = 6
end_gcode = M109 ; switch off extrudernM191 ; switch off heated bednG28 X-2 Y2 ; home axesnG28 Z-2 ; home ZnM2 ; end of program
external_fill_pattern = rectilinear
external_perimeter_extrusion_width = 0
external_perimeter_speed = 50%
external_perimeters_first = 0
extra_perimeters = 1
extruder_clearance_height = 20
extruder_clearance_radius = 20
extruder_offset = 0x0
extrusion_axis = E
extrusion_multiplier = 20
extrusion_width = 0
fan_always_on = 0
fan_below_layer_time = 60
filament_colour = #008040
filament_diameter = 1.75
fill_angle = 45
fill_density = 10%
fill_pattern = rectilinear
first_layer_acceleration = 0
first_layer_bed_temperature = 60
first_layer_extrusion_width = 200%
first_layer_height = 0.4
first_layer_speed = 50%
first_layer_temperature = 210
gap_fill_speed = 20
gcode_arcs = 0
gcode_comments = 0
gcode_flavor = reprap
infill_acceleration = 0
infill_every_layers = 1
infill_extruder = 1
infill_extrusion_width = 0
infill_first = 0
infill_only_where_needed = 0
infill_overlap = 15%
infill_speed = 80
interface_shells = 0
layer_gcode =
layer_height = 0.2
max_fan_speed = 100
max_print_speed = 80
max_volumetric_speed = 0
min_fan_speed = 0
min_print_speed = 15
min_skirt_length = 0
notes =
nozzle_diameter = 0.4
octoprint_apikey =
octoprint_host =
only_retract_when_crossing_perimeters = 1
ooze_prevention = 0
output_filename_format = [input_filename_base].gcode
overhangs = 1
perimeter_acceleration = 0
perimeter_extruder = 1
perimeter_extrusion_width = 0
perimeter_speed = 60
perimeters = 3
post_process =
pressure_advance = 0
raft_layers = 0
resolution = 0
retract_before_travel = 2
retract_layer_change = 1
retract_length = 40
retract_length_toolchange = 10
retract_lift = 0
retract_restart_extra = 0
retract_restart_extra_toolchange = 0
retract_speed = 1800
seam_position = aligned
skirt_distance = 3
skirt_height = 1
skirts = 1
slowdown_below_layer_time = 20
small_perimeter_speed = 15
solid_infill_below_area = 70
solid_infill_every_layers = 0
solid_infill_extruder = 1
solid_infill_extrusion_width = 0
solid_infill_speed = 80%
spiral_vase = 0
standby_temperature_delta = -5
start_gcode = G28 X-2 Y2 ; home x y axesnG28 Z-2 ; home Z axisnM204 P1500 ; set acceleration
support_material = 0
support_material_angle = 0
support_material_contact_distance = 0.2
support_material_enforce_layers = 0
support_material_extruder = 1
support_material_extrusion_width = 0
support_material_interface_extruder = 1
support_material_interface_layers = 3
support_material_interface_spacing = 0
support_material_interface_speed = 50%
support_material_pattern = pillars
support_material_spacing = 4
support_material_speed = 60
support_material_threshold = 45
temperature = 200
thin_walls = 1
threads = 2
toolchange_gcode =
top_infill_extrusion_width = 0
top_solid_infill_speed = 20
top_solid_layers = 3
travel_speed = 130
use_firmware_retraction = 0
use_relative_e_distances = 0
use_volumetric_e = 0
vibration_limit = 0
wipe = 0
xy_size_compensation = 0
z_offset = -318.8
dhei 2017-6-9 17:01 edit
Thank you for sharing ;-) this saved my day
Which values would you adapt for a metallic filament? TIA
[quote][size=2][color=#999999]dhei post at 2017-6-9 16:48[/color][/size]
Thank you for sharing  this saved my day Which values would you adapt for a metallic filamen …[/quote]
I did not try any metallic filament so far. Only colorFabbs XT-CF20 and after one print you can tell that the nozzle diameter has changed. So I dont think that you can print metallic filament with the brass nozzles eather.
Zeus 2017-7-3 10:02 edit
[quote][size=2][url=forum.php?mod=redirect&goto=findpost&pid=1355&ptid=260][color=#999999]uoji post at 2017-4-4 10:32[/color][/url][/size] Copy the text below and create a .ini file, then in Slic3r: File -> Load Config...NOTE!!!This is for ...[/quote]
So I have made the ini and imported the config into Slic3r.
I have chaged the z offset to my normal version of Cetus.
I extract the .gcode file and import it into the cetus software.
I have checked that the nozzle is not blocked.
But I get no extrusion. I have played with the Multiplier and also with the E, and nothing.
I have used both 1.2.3.0 and the new 1.3.0.0 versions of the Cetus software.
Any idea? I have never used Slic3r so i am a total noob.
Edit: NVM I figured it out. The Eextrusion_multiplier = 20 does not import correctly as the normal variation is 0.9 to 1.1 once manualy set to 20 it started extruding.