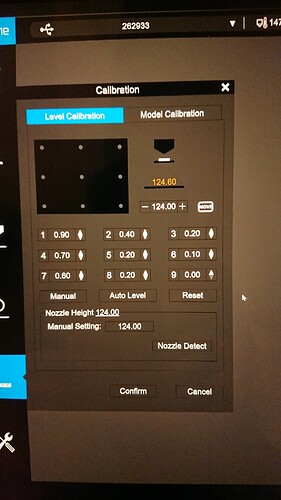
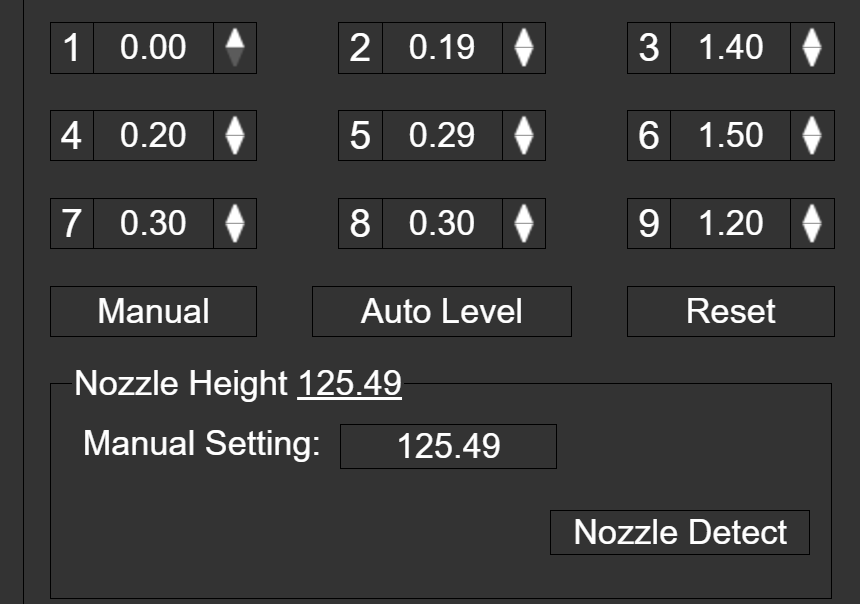
Now using the paper test again and doing it from scratch, I have these numbers:
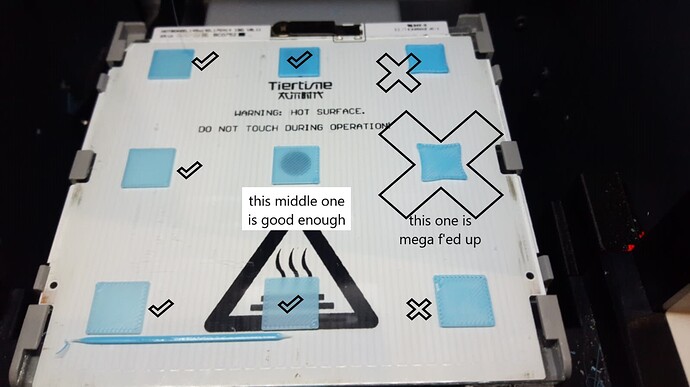
I’ll share a picture of the results of my bed level test print.
(here is the file I made for this printer and it’s 9 points - 9 point test - 15mm squares - 110mm array.stl (5.4 KB) and if you just want to test one part of the printer after making some adjustments, use this little square and put it where you want to test single square.stl (684 Bytes) )
I give up. I’m just gonna shove more shims in there. this bed leveling via software just doesn’t work.
Any advice from Tiertime would be greatly appreciated.
[quote=“SirLucian, post:7, topic:2093, full:true”]
Now using the paper test again and doing it from scratch, I have these numbers:
I’ll share a picture of the results of my bed level test print.
(here is the file I made for this printer and it’s 9 points - 9 point test - 15mm squares - 110mm array.stl (5.4 KB) and if you just want to test one part of the printer after making some adjustments, use this little square and put it where you want to test single square.stl (684 Bytes) )
I give up. I’m just gonna shove more shims in there. this bed leveling via software just doesn’t work.
Any advice from Tiertime would be greatly appreciated.
First make sure the nozzle height value is correctly set, so that the first lyaer is adhering properly.
Then do a manual 9 point leveling with the calibration card included, so that you will get 9 compensation values, These value should not have difference larger than 0.5mm.
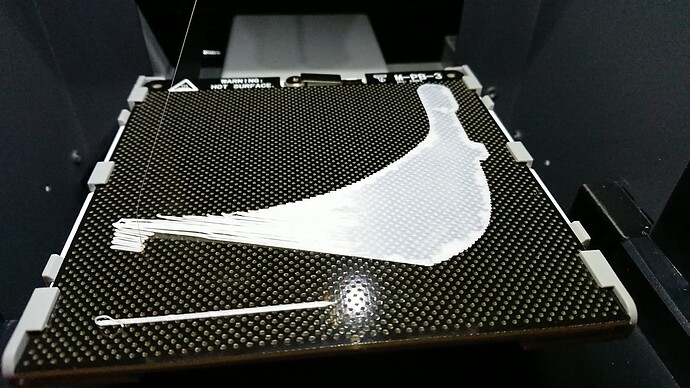
Finally make sure to use raft to print on perforated board, if use no raft, the leveling data will not apply to the print.
hang on, do I understand you correctly that the level adjustments only apply to rafts?
Because I don’t want to believe that it is expected that we always print with rafts. they are wasteful in both resources and time. I’d like to be able to level my bed for printing without a raft also. Please tell me I misunderstood your previous statement.


