So I finally got around to adding manual leveling screws to my up mini 2 ES. I’ve only owned this printer since July but only opened it over thanksgiving last year.
My 11 year old kid asked right off the bat why one side of the build platform was bigger than the other side and I explained the matrix leveling algorithm used to achieve square.
Well fast forward 2 months of non stop printing and failures and beta 3 struggles and I finally needed to do something that I could succeed at with this printer.
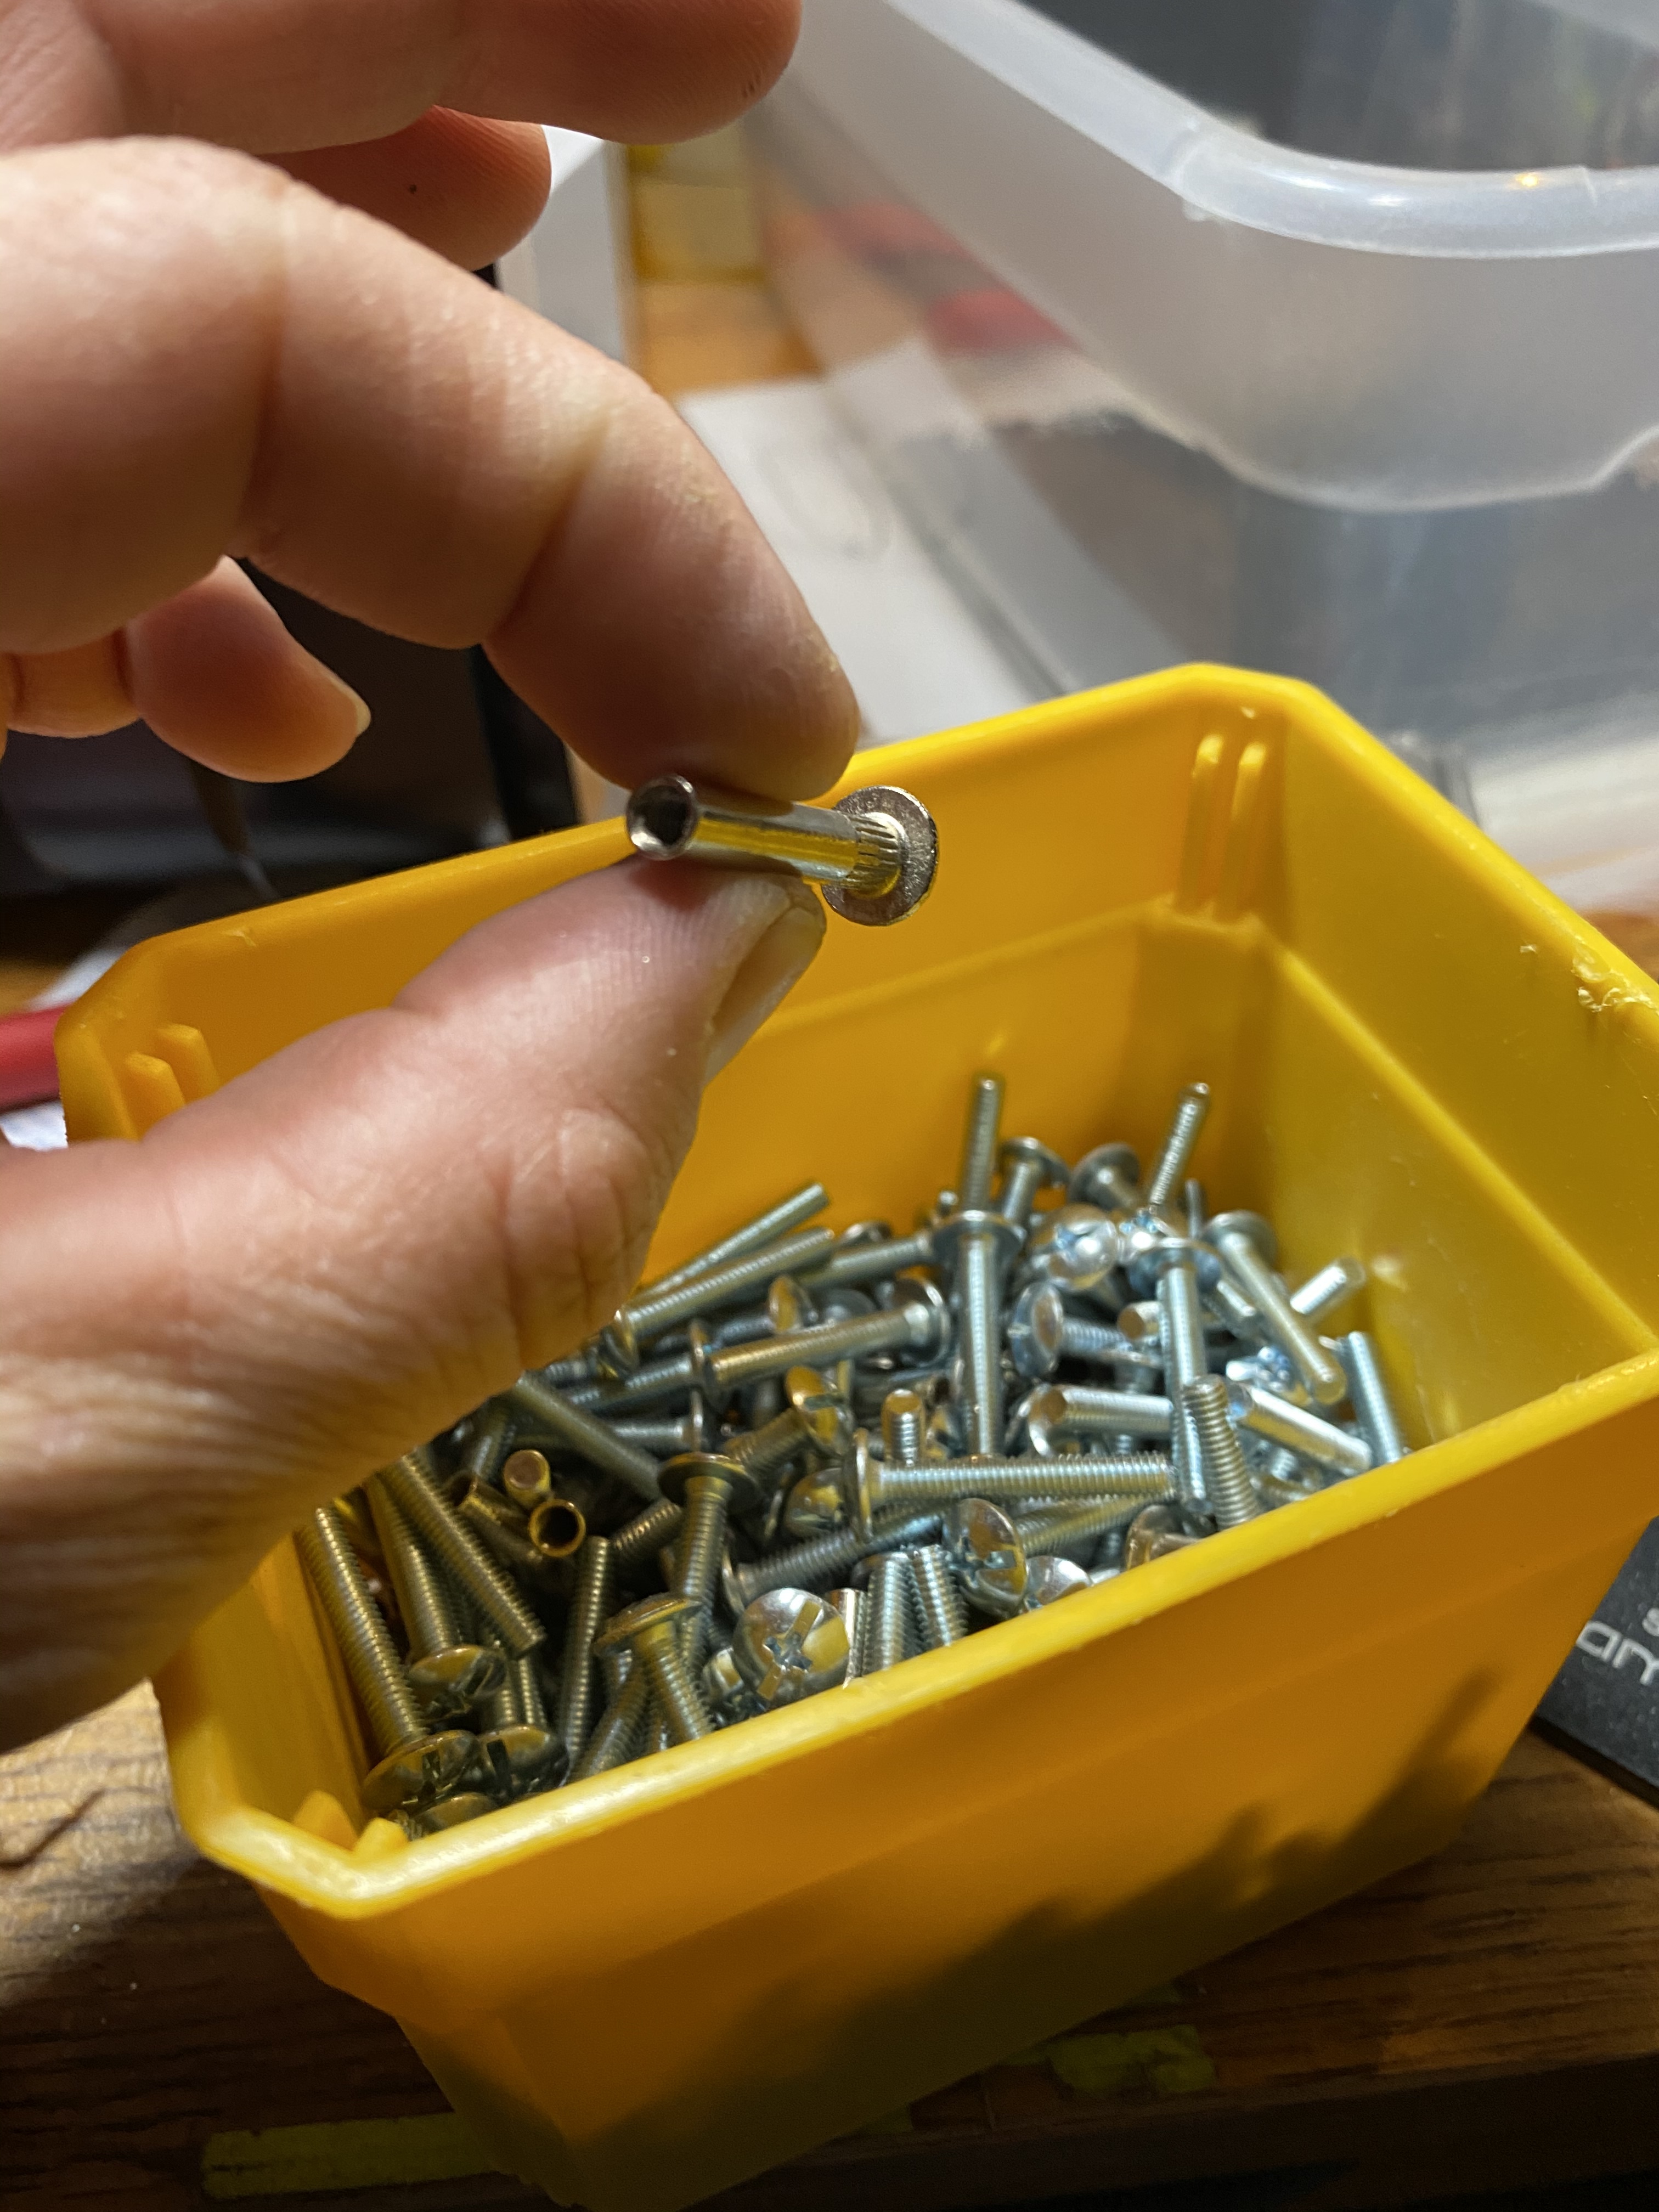
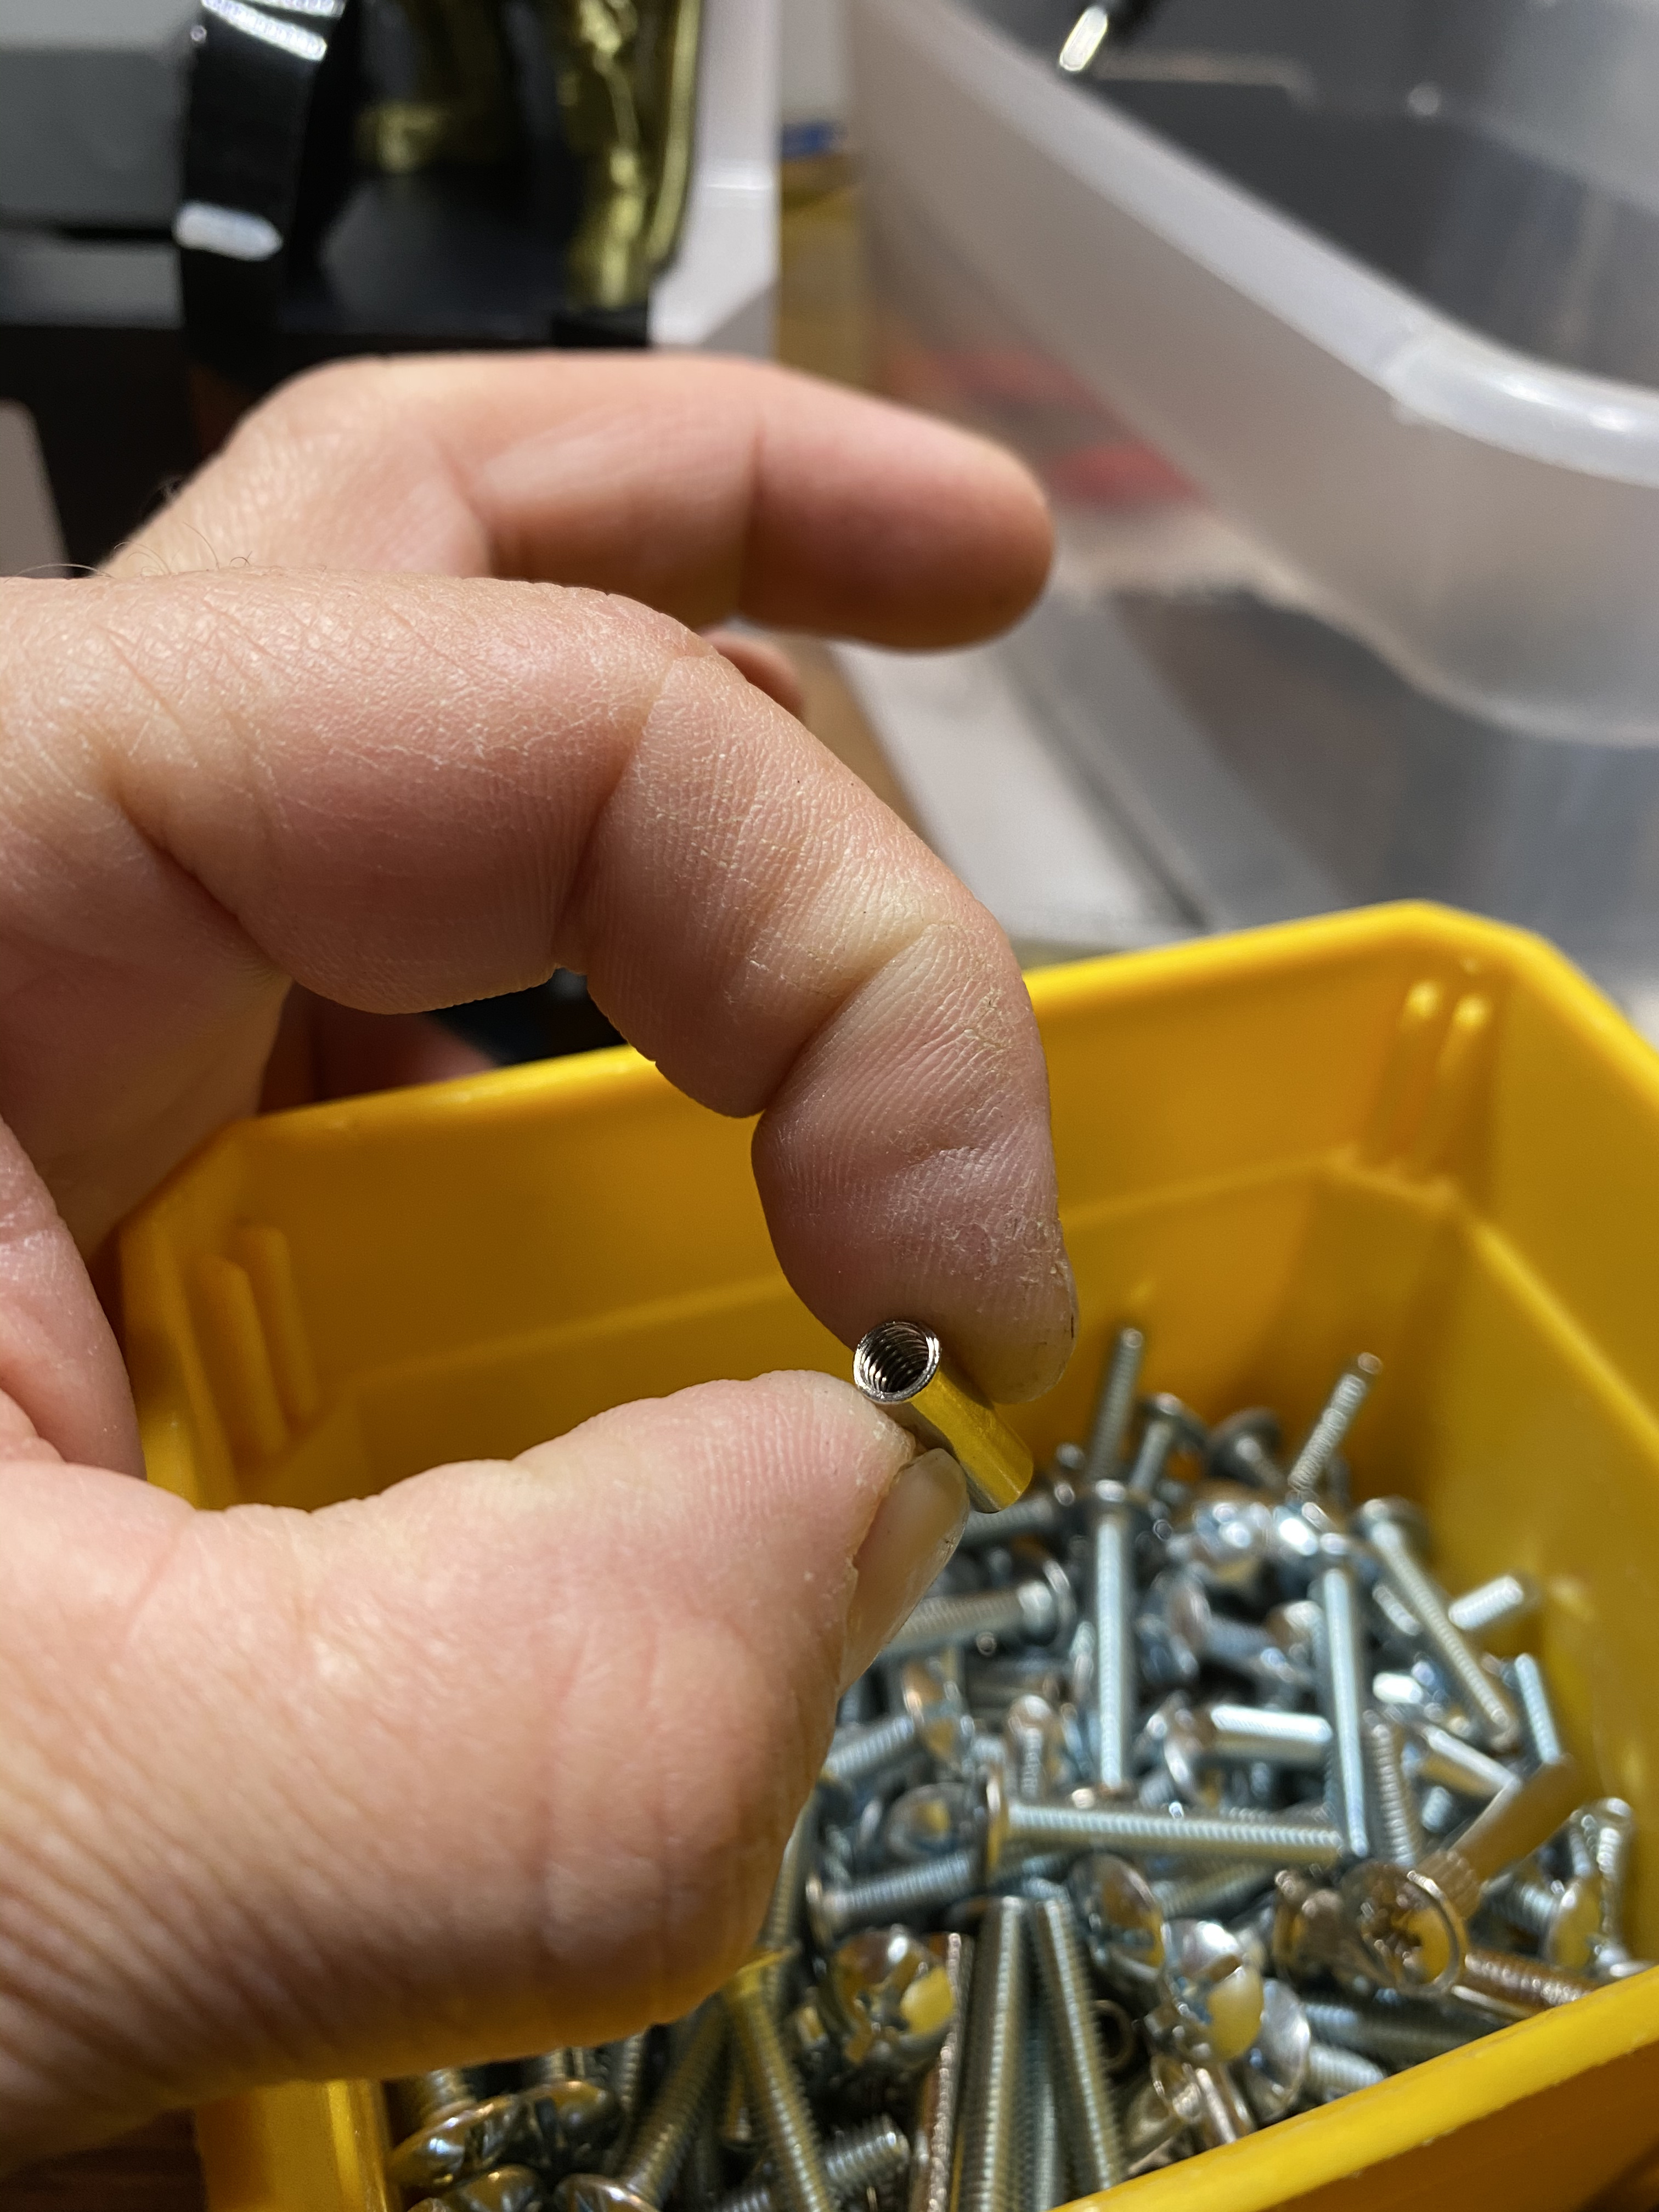
I happen to have to have some through bolt screws I used for a closet remodel 15 years ago that are a perfect fit for the holes where the springs go. And I have a box of project springs I bought from osh hardware around the same time. I inserted the matching screw into the threaded sleeve and cut it off at about 1/2”. Little less. Used a dremel to clean up all the edges and make sure it’s flat.
First things first is to remove the heated bed and carriage from the printer.
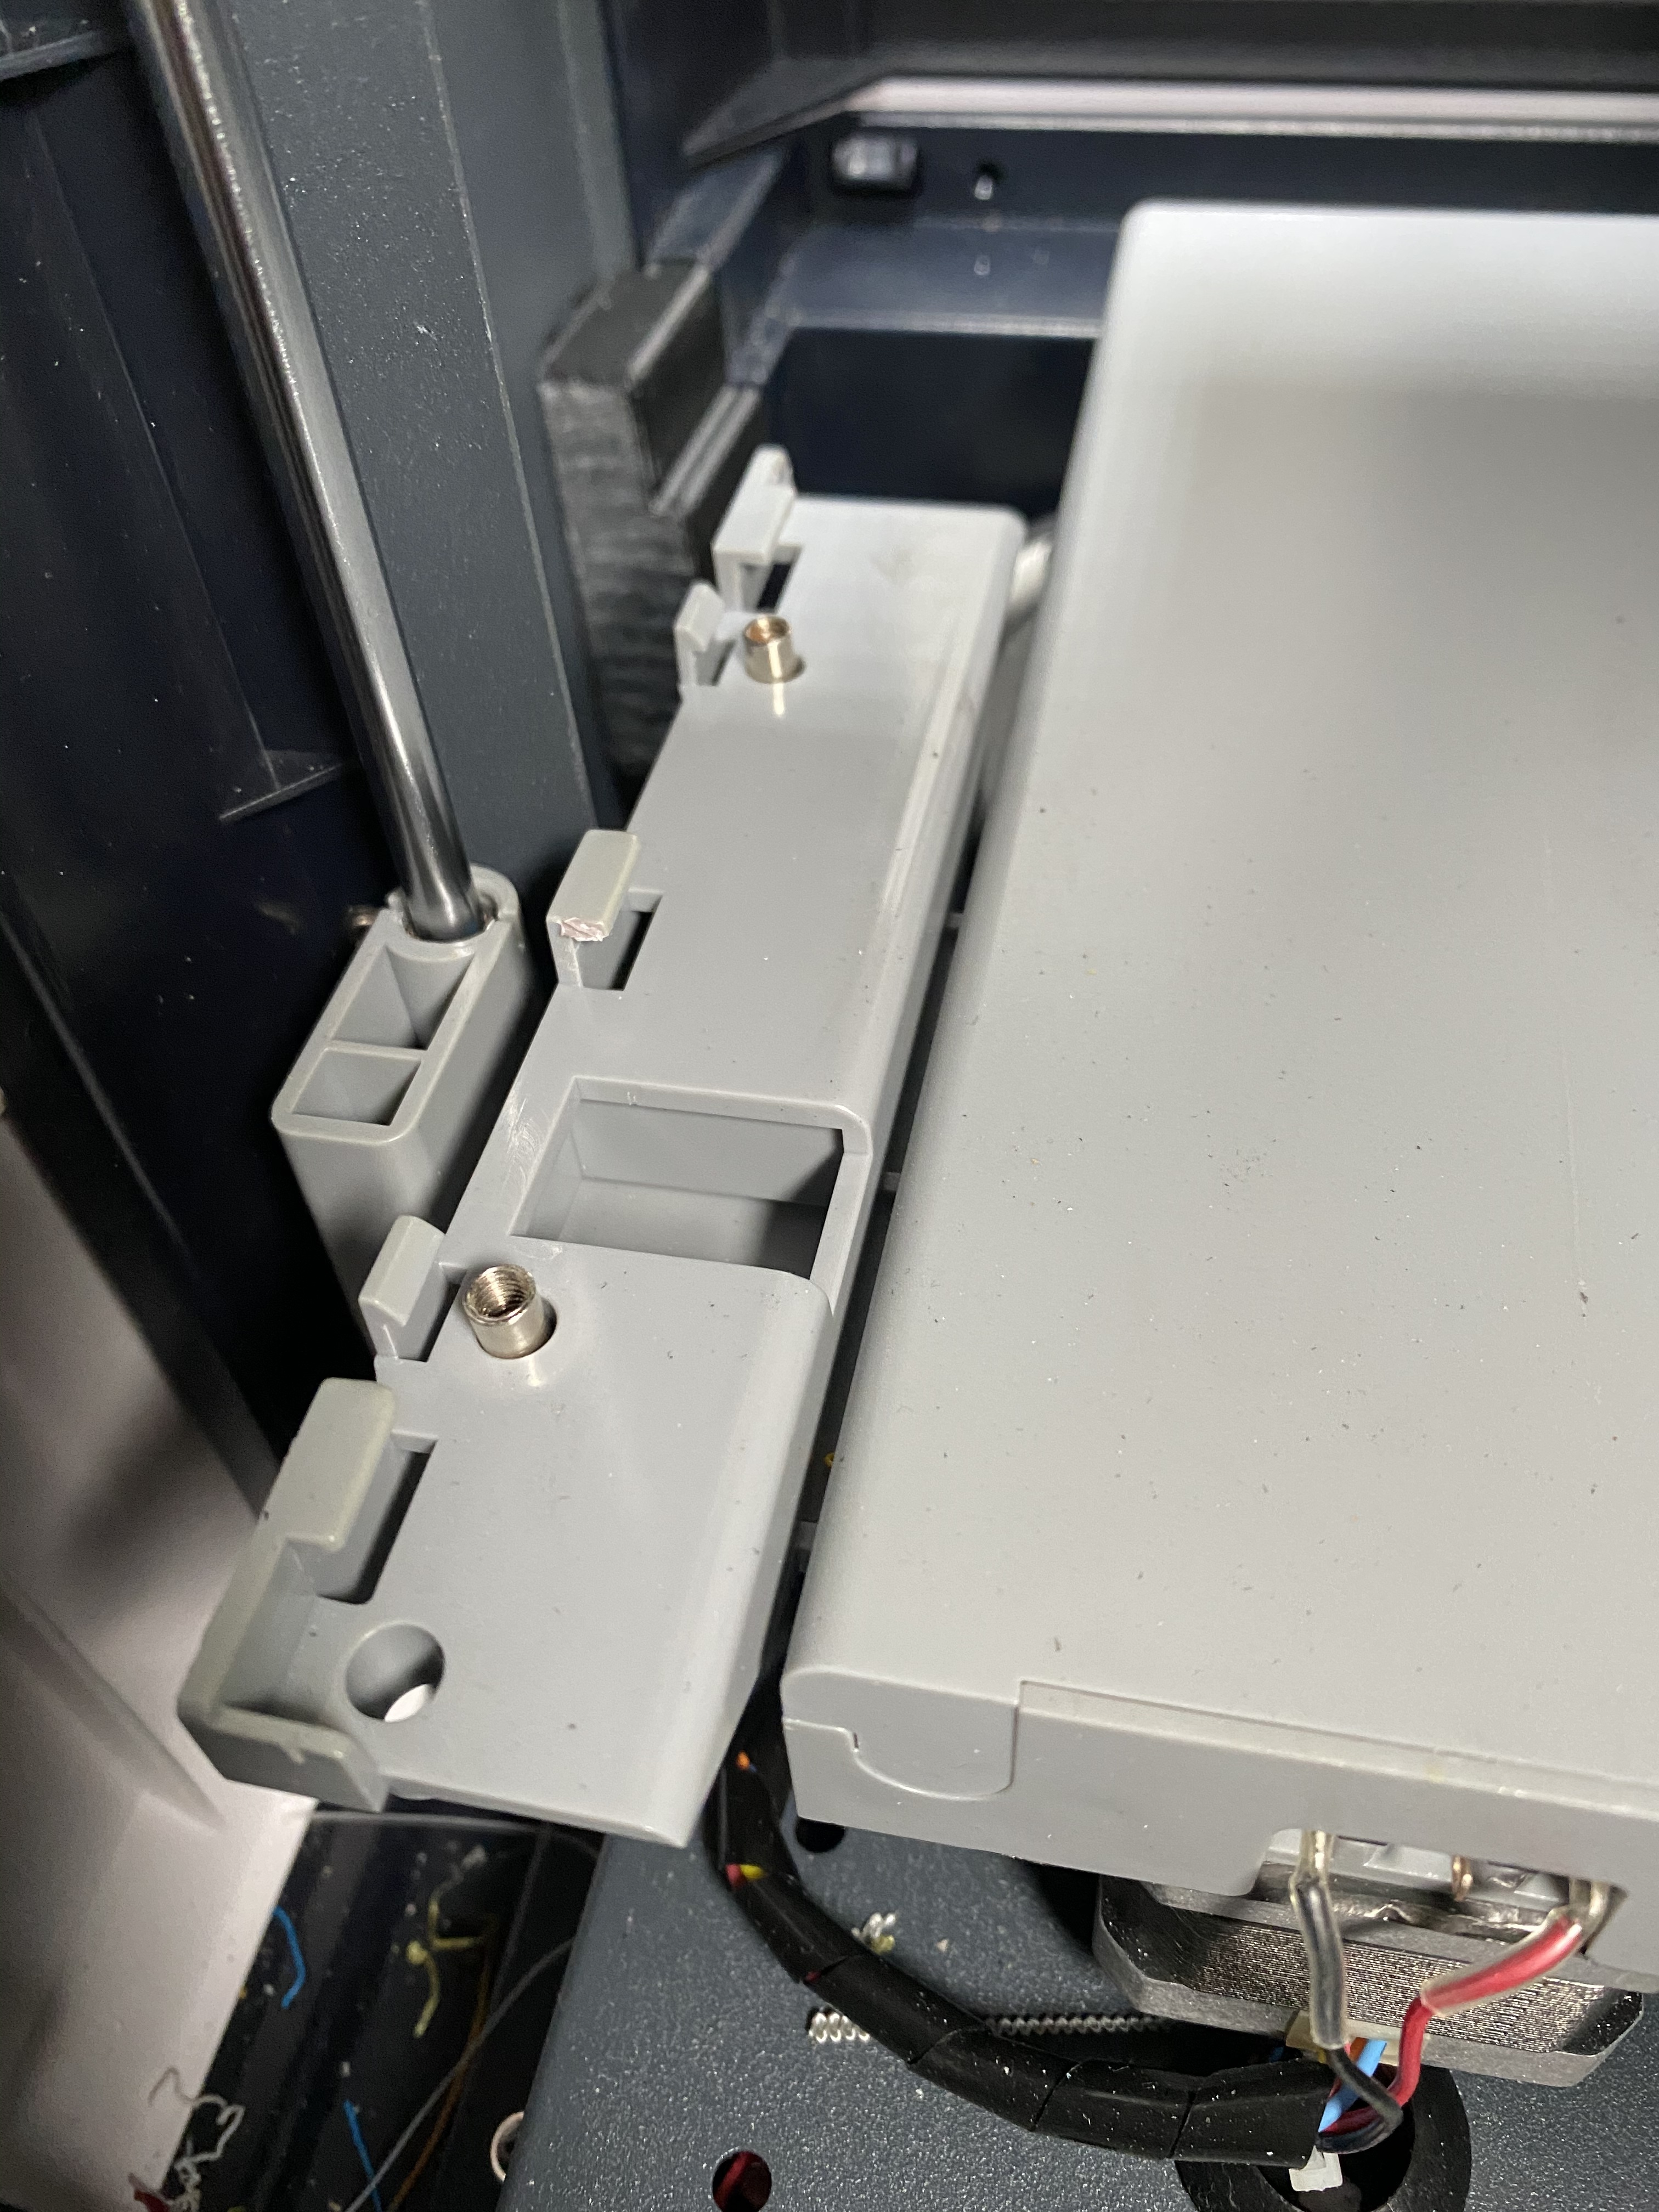
I then drilled out the spring holes and glued the cut off threaded sleeves onto the heated bed aligned with where the spring holes were.
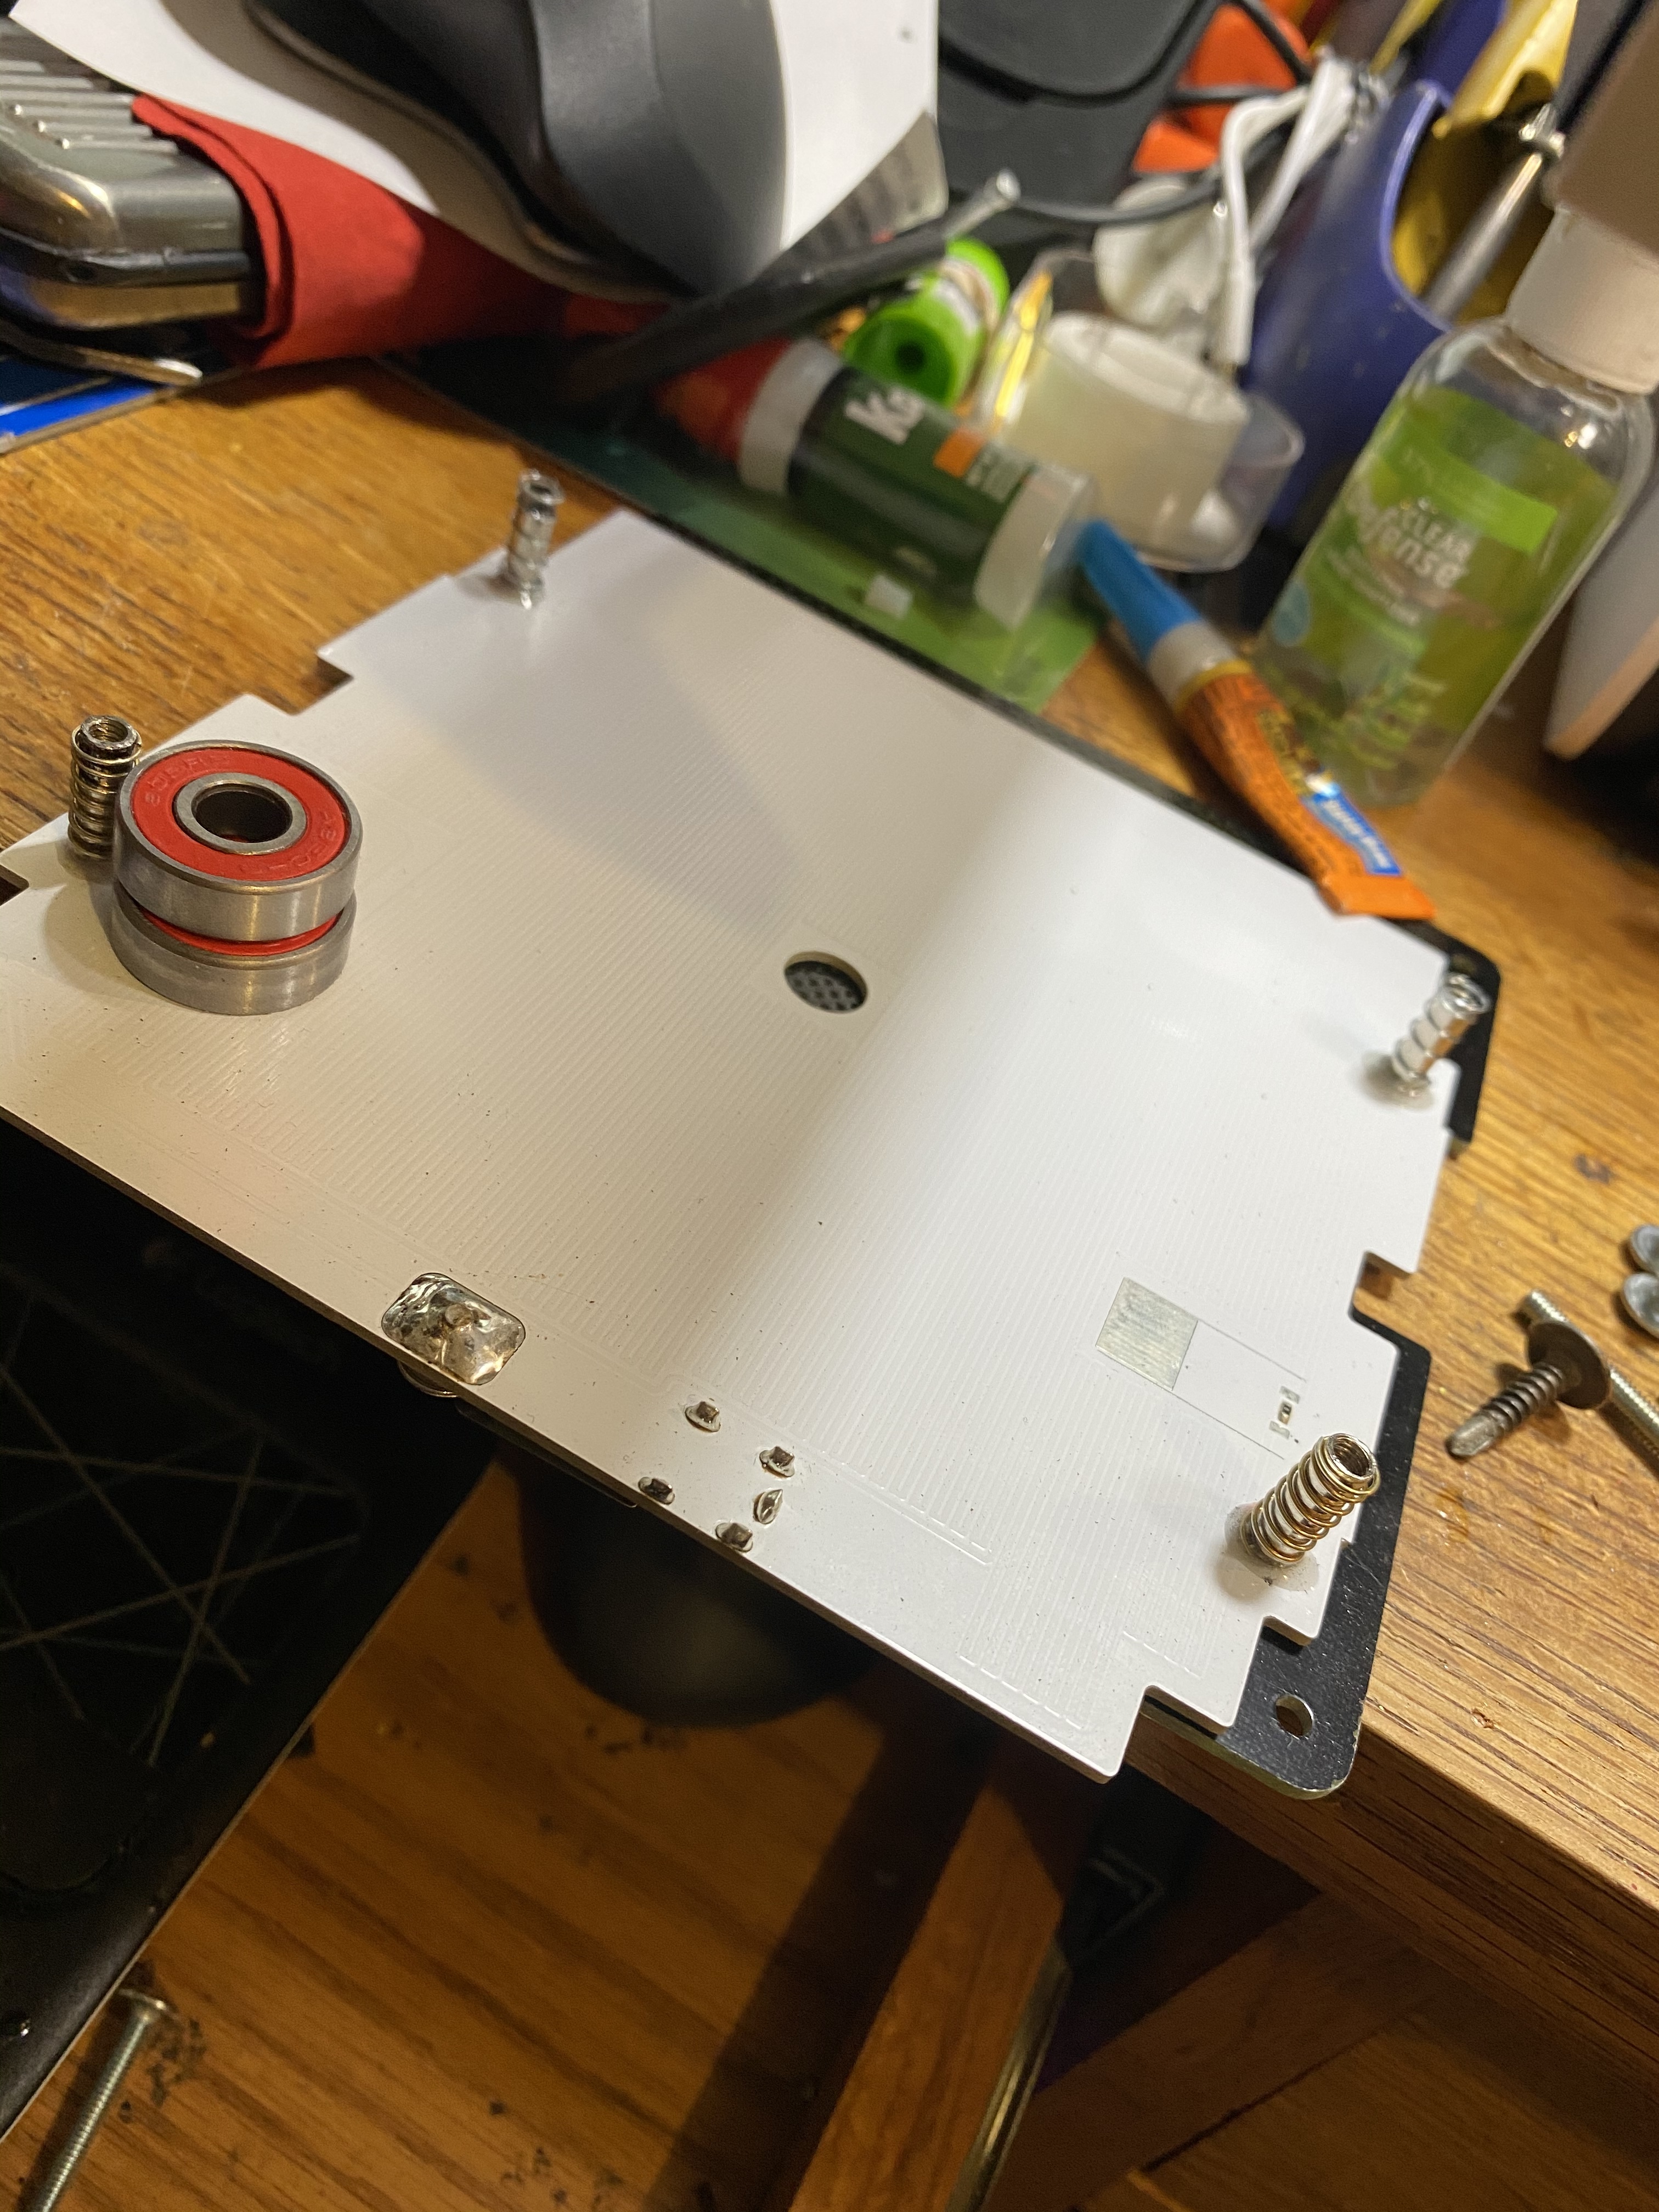
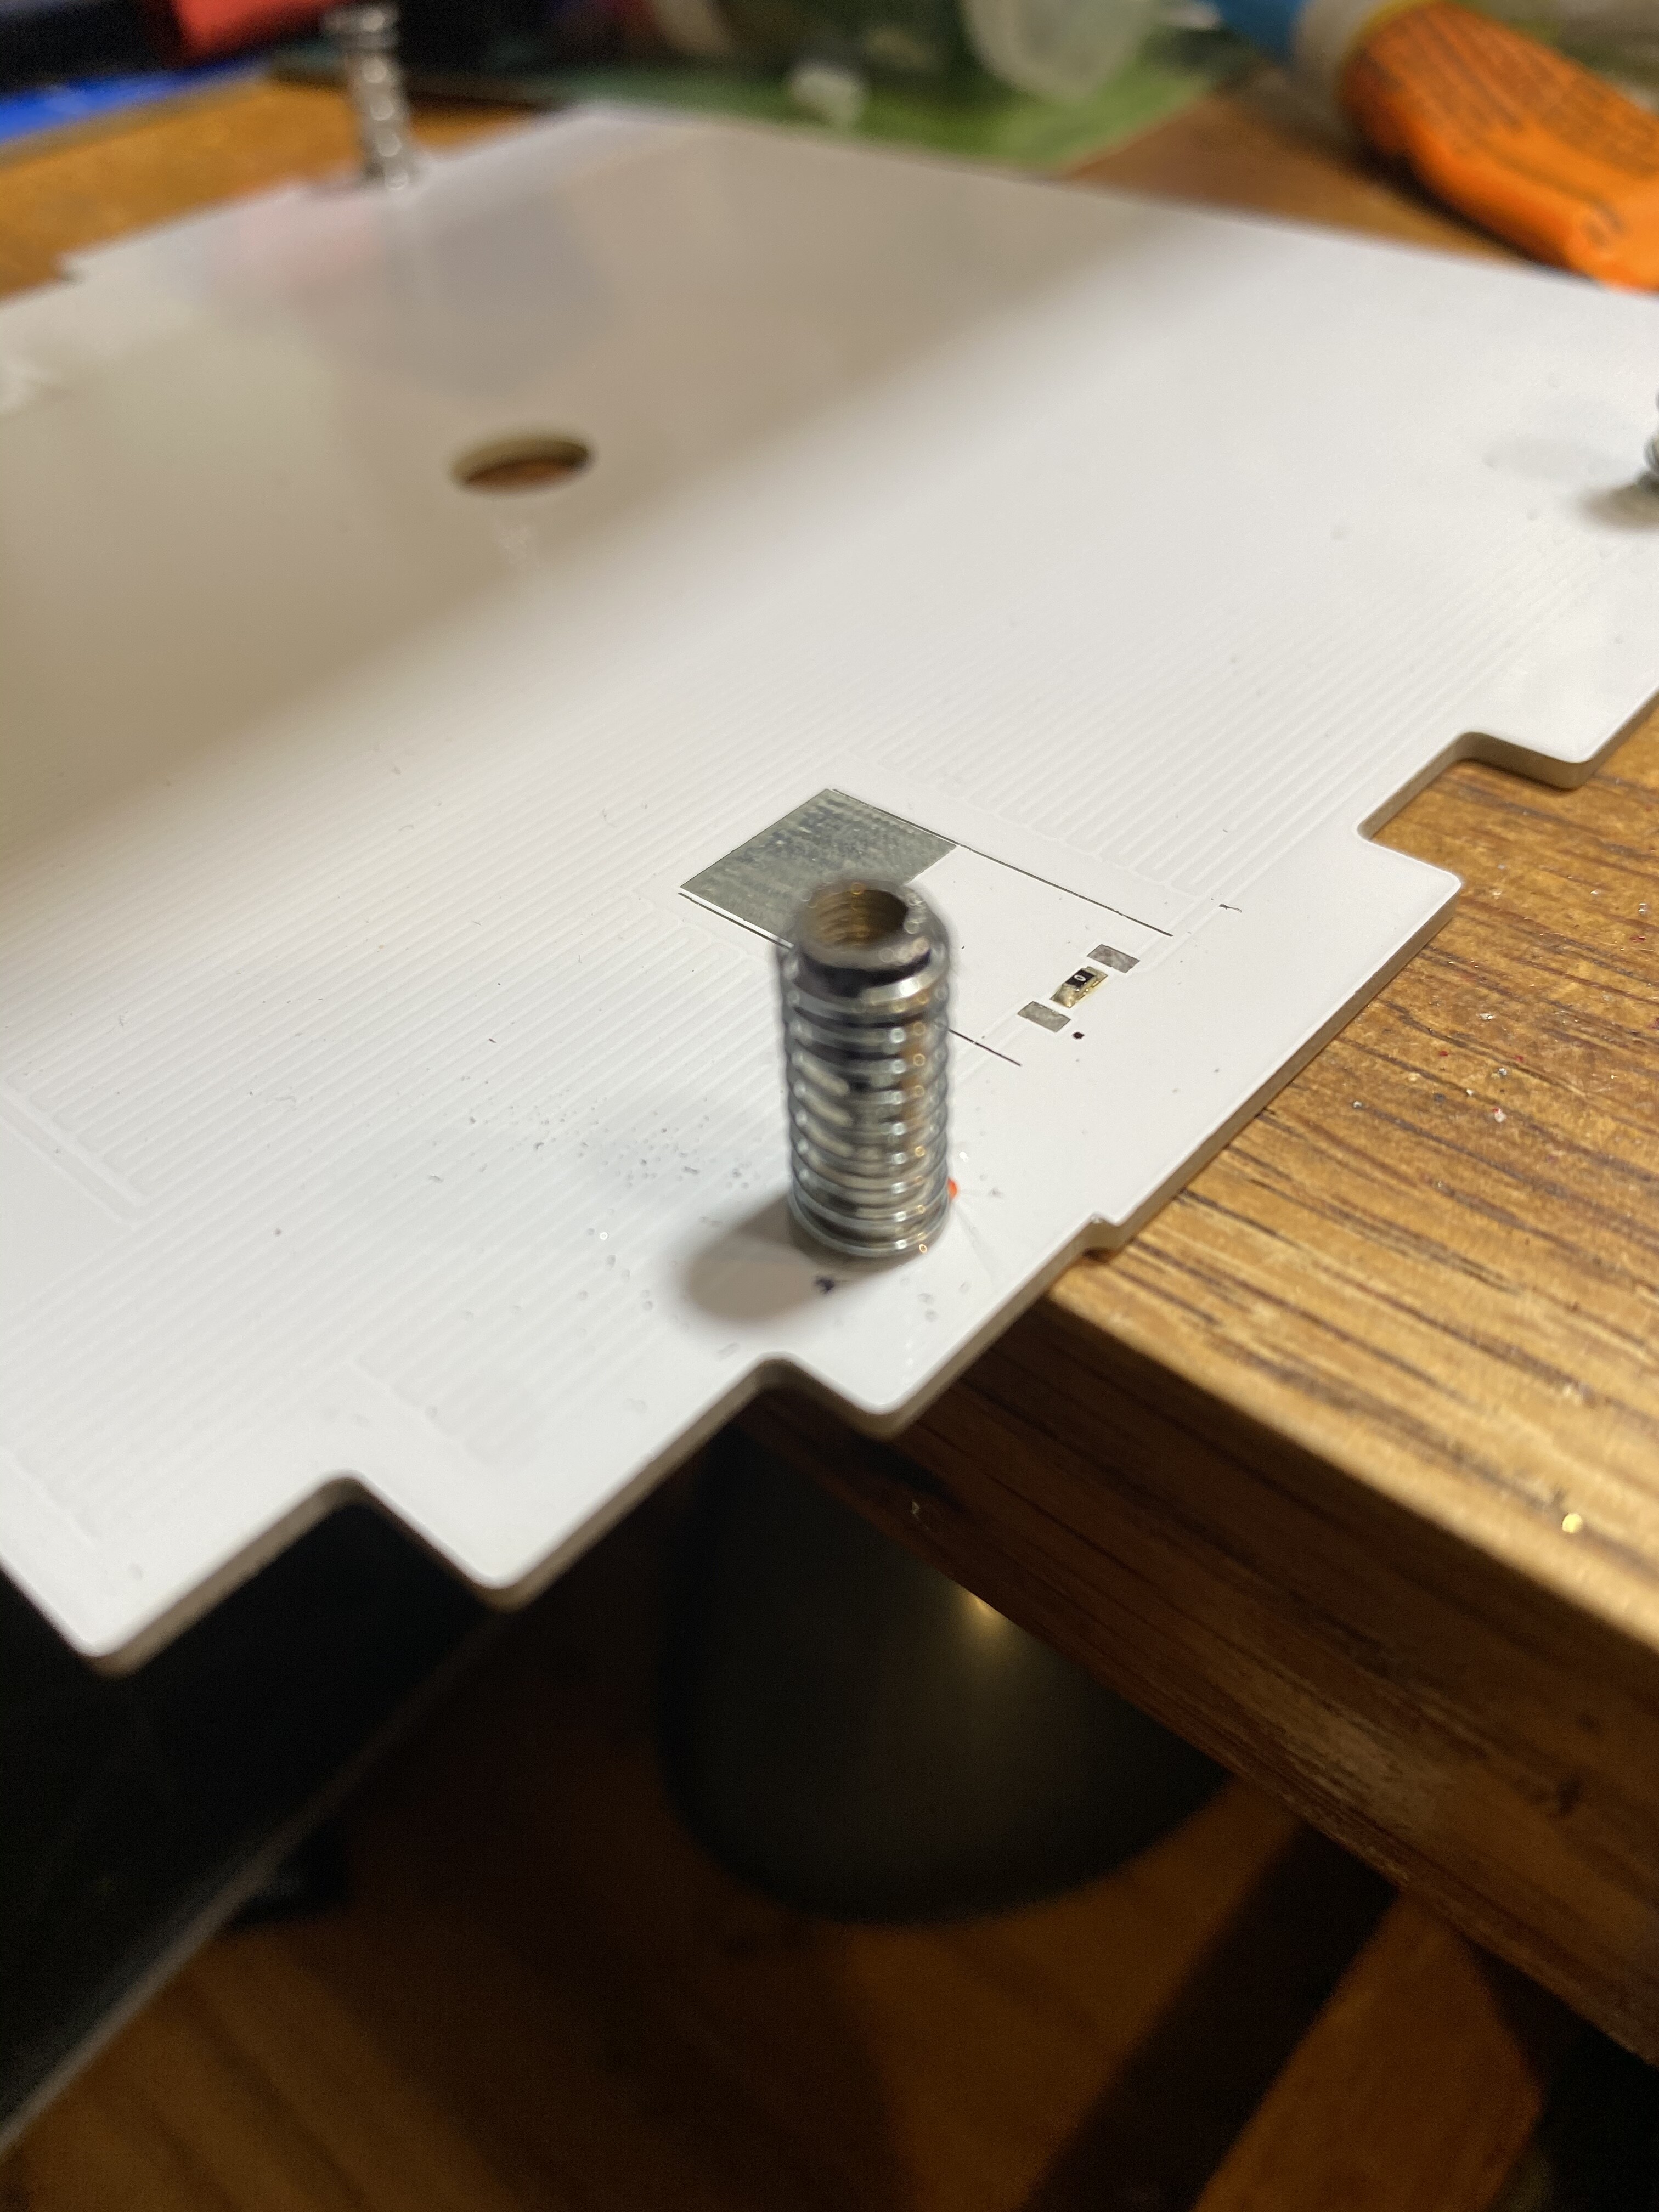
Then I found springs that would fit around the sleeves but not go in the hole. Using opposing pressure from the screws to hold it in place.
Hardest part for me was being patient enough to let the glue cure so it wouldn’t fail when it gets heated up.
I lost about 7-8mm of build height but it’s worth it in my opinion.
Using mini binder clips to hold it place.
My first print was a test cube that failed as the the epoxy I was using was not heat rated anyway so waiting for it to cure was pointless. And one side busted lose. I was watching so I caught it before it damaged anything. I then ordered some high temp high tensile strength CA glue made by the gorilla glue company. So far so good.
Leveled the bed to 117mm and then proceeded to use up studio 2.6 to traverse the bed and level it with the screws at that height.
Next print was some pieces for a tourbillon I’ve been working on and then some hooks for the barn and then some NASA fabric Mk 3(chainmail) and more tourbillon parts. Froze on the last batch of parts so I’m gonna try again without using studio 3 Beta as I think that’s the problem.
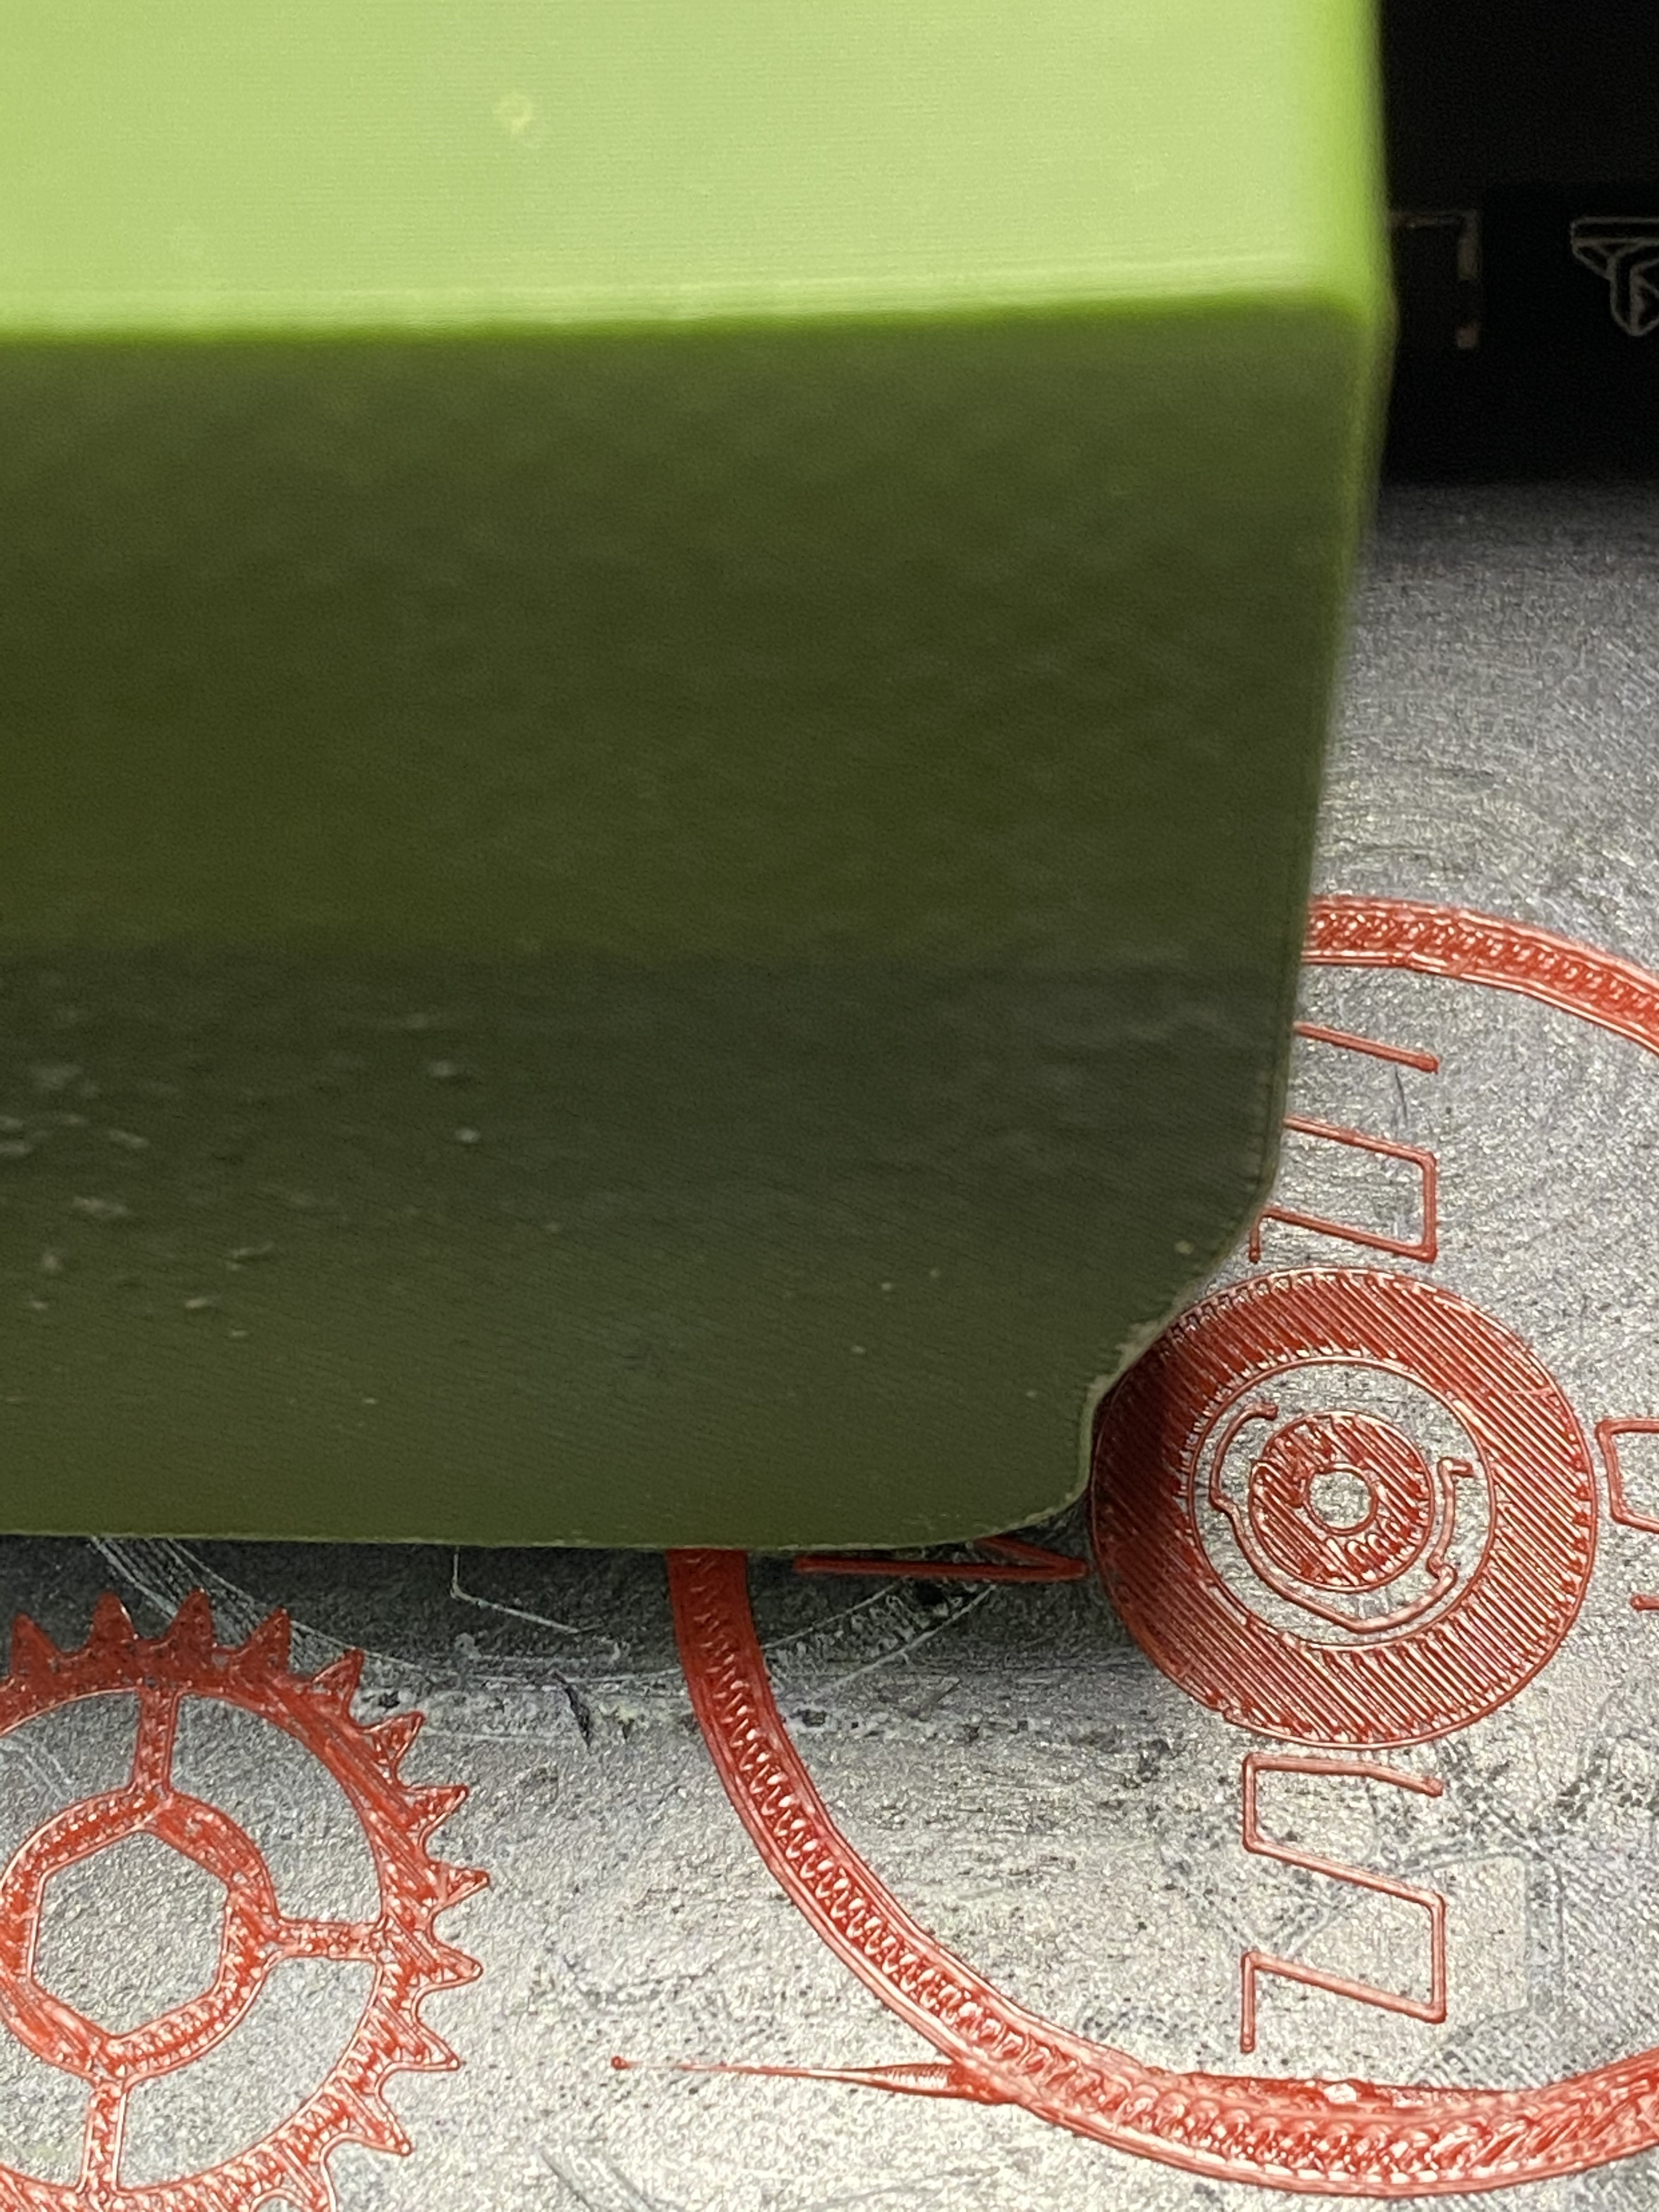
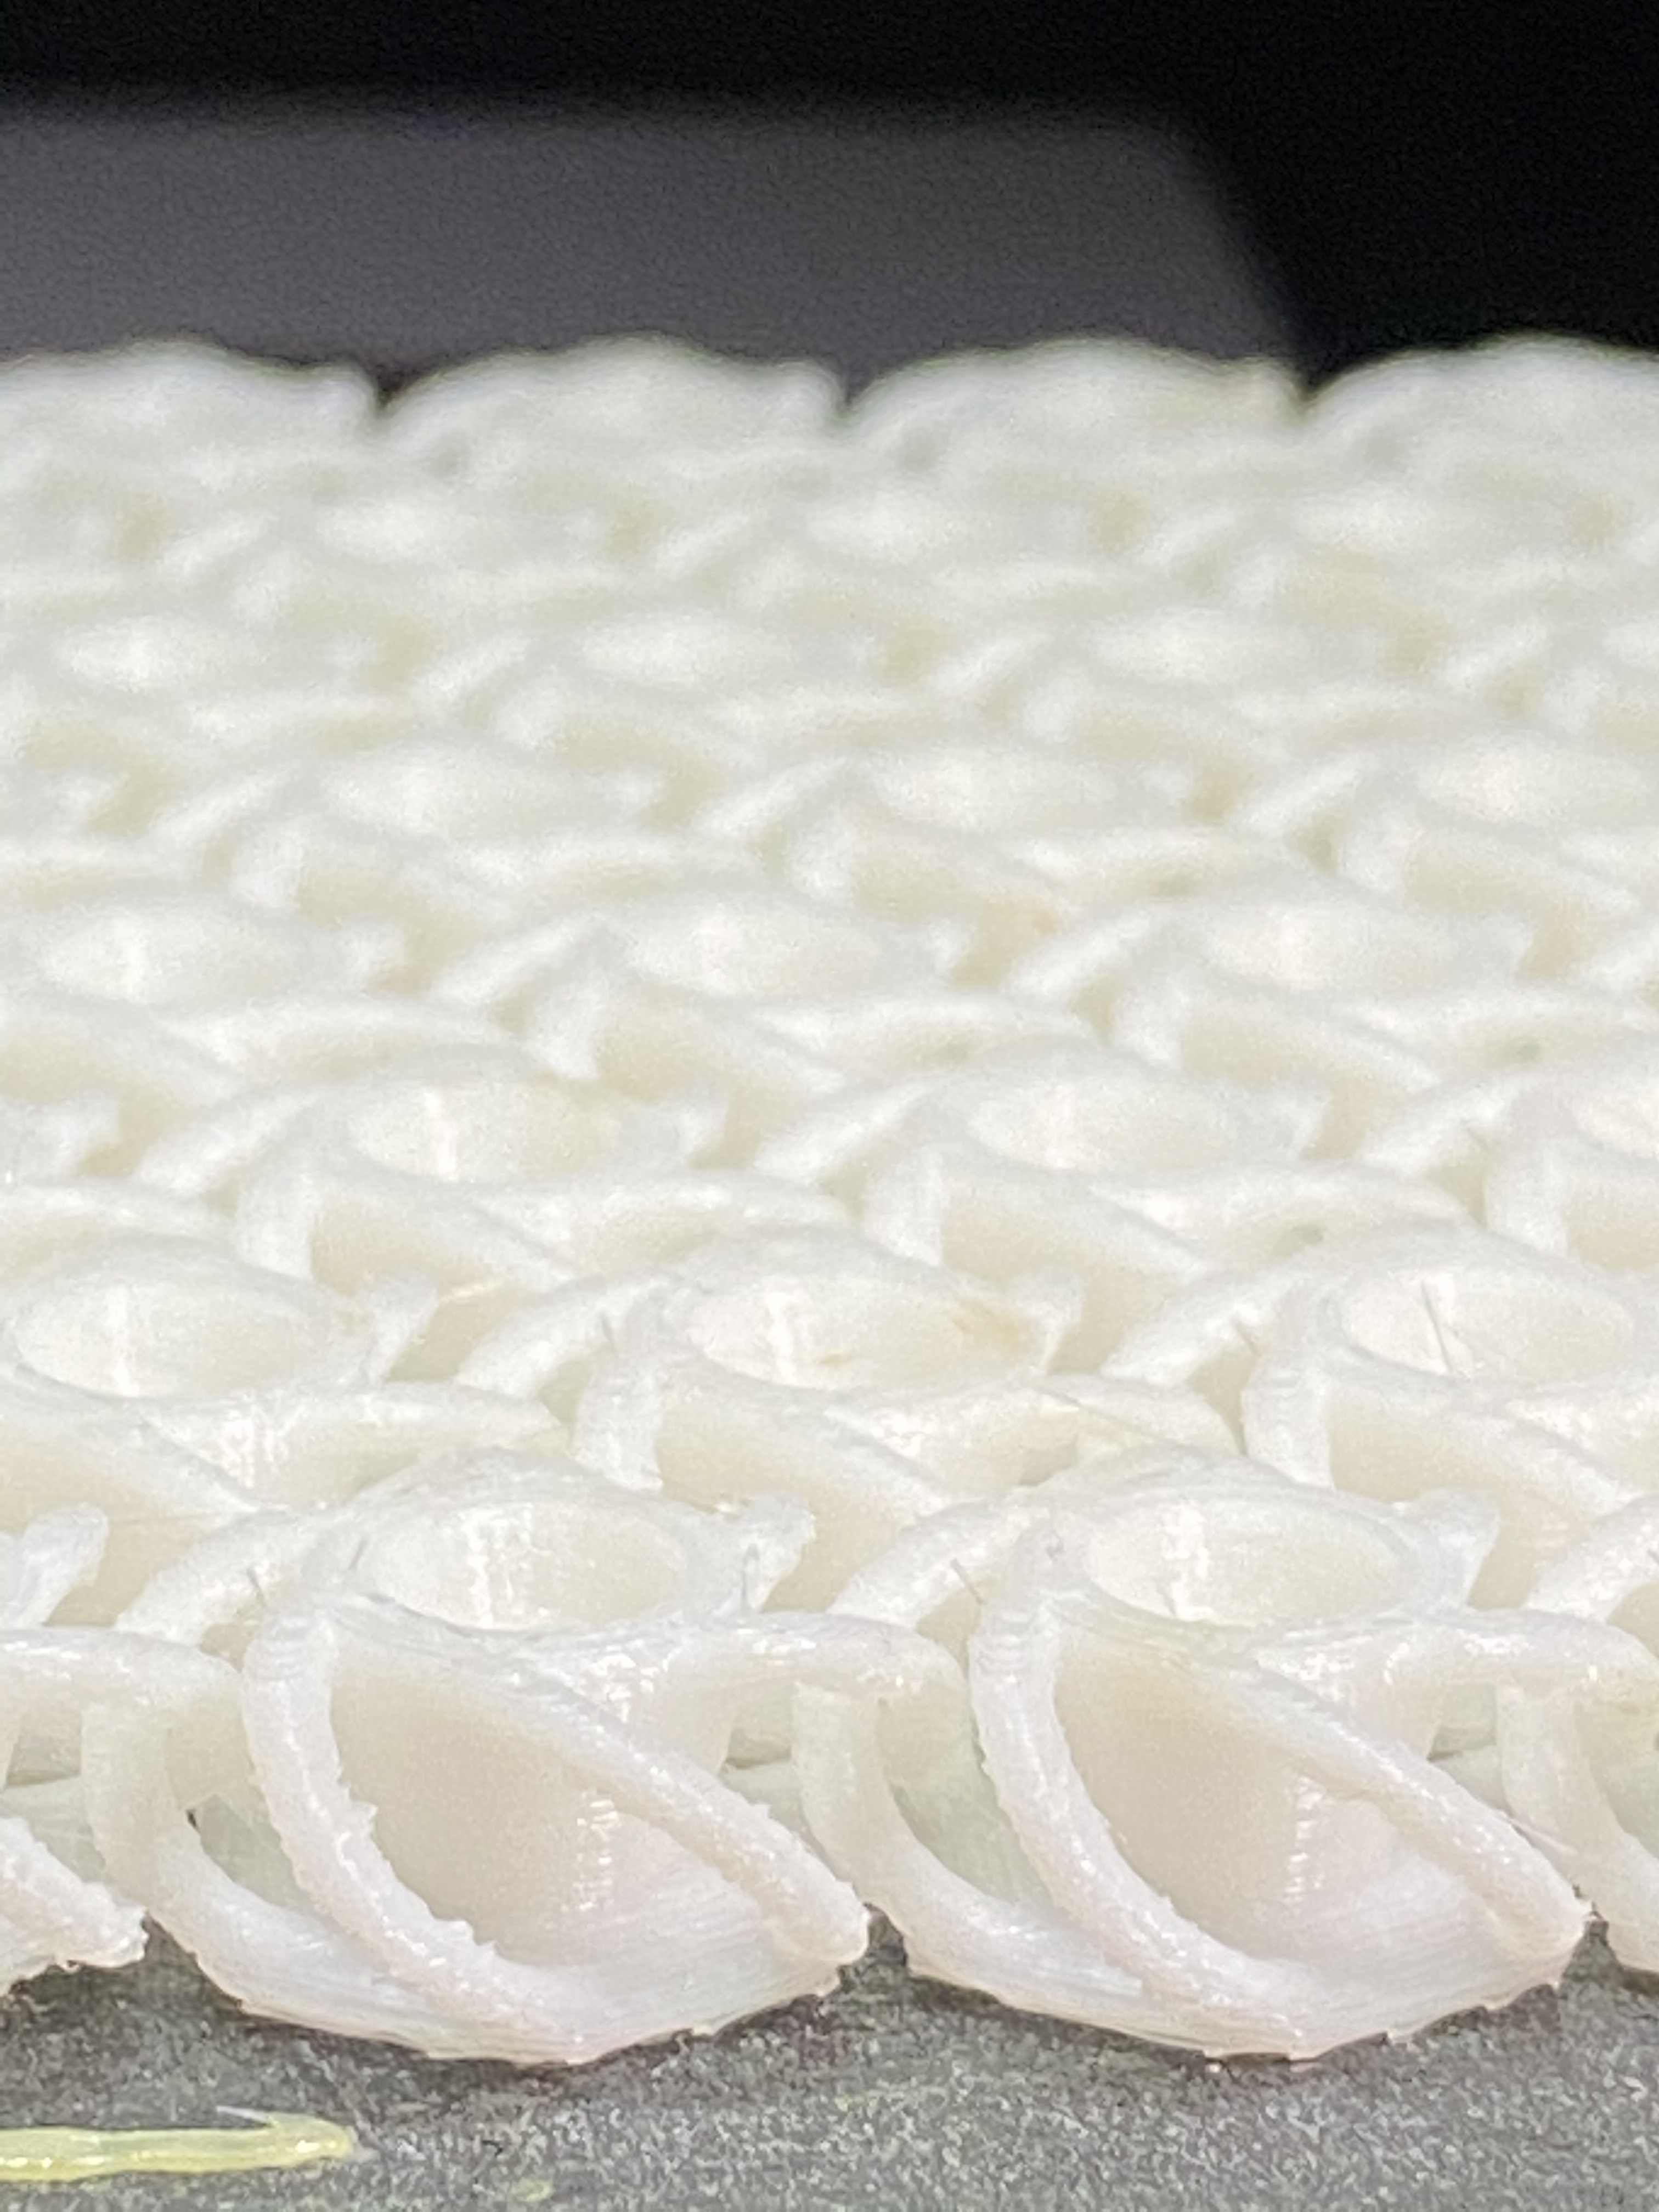
NASA fabric mk3

So far all the parts printed today have been without a raft and without any issues adhering. I did put some purple glue stick down for the last batch of toubillon as I’m hoping to get this one working soon.
On a side note. I have a handful of the screw sleeves if anyone else’s wants to try. Mod at your own risk. I take no responsibility for any issues. But I am a solutionist so I may be able to help otherwise.